

This post contains affiliate links, which means I may earn a small commission from purchases made through my links, at no extra cost to you.
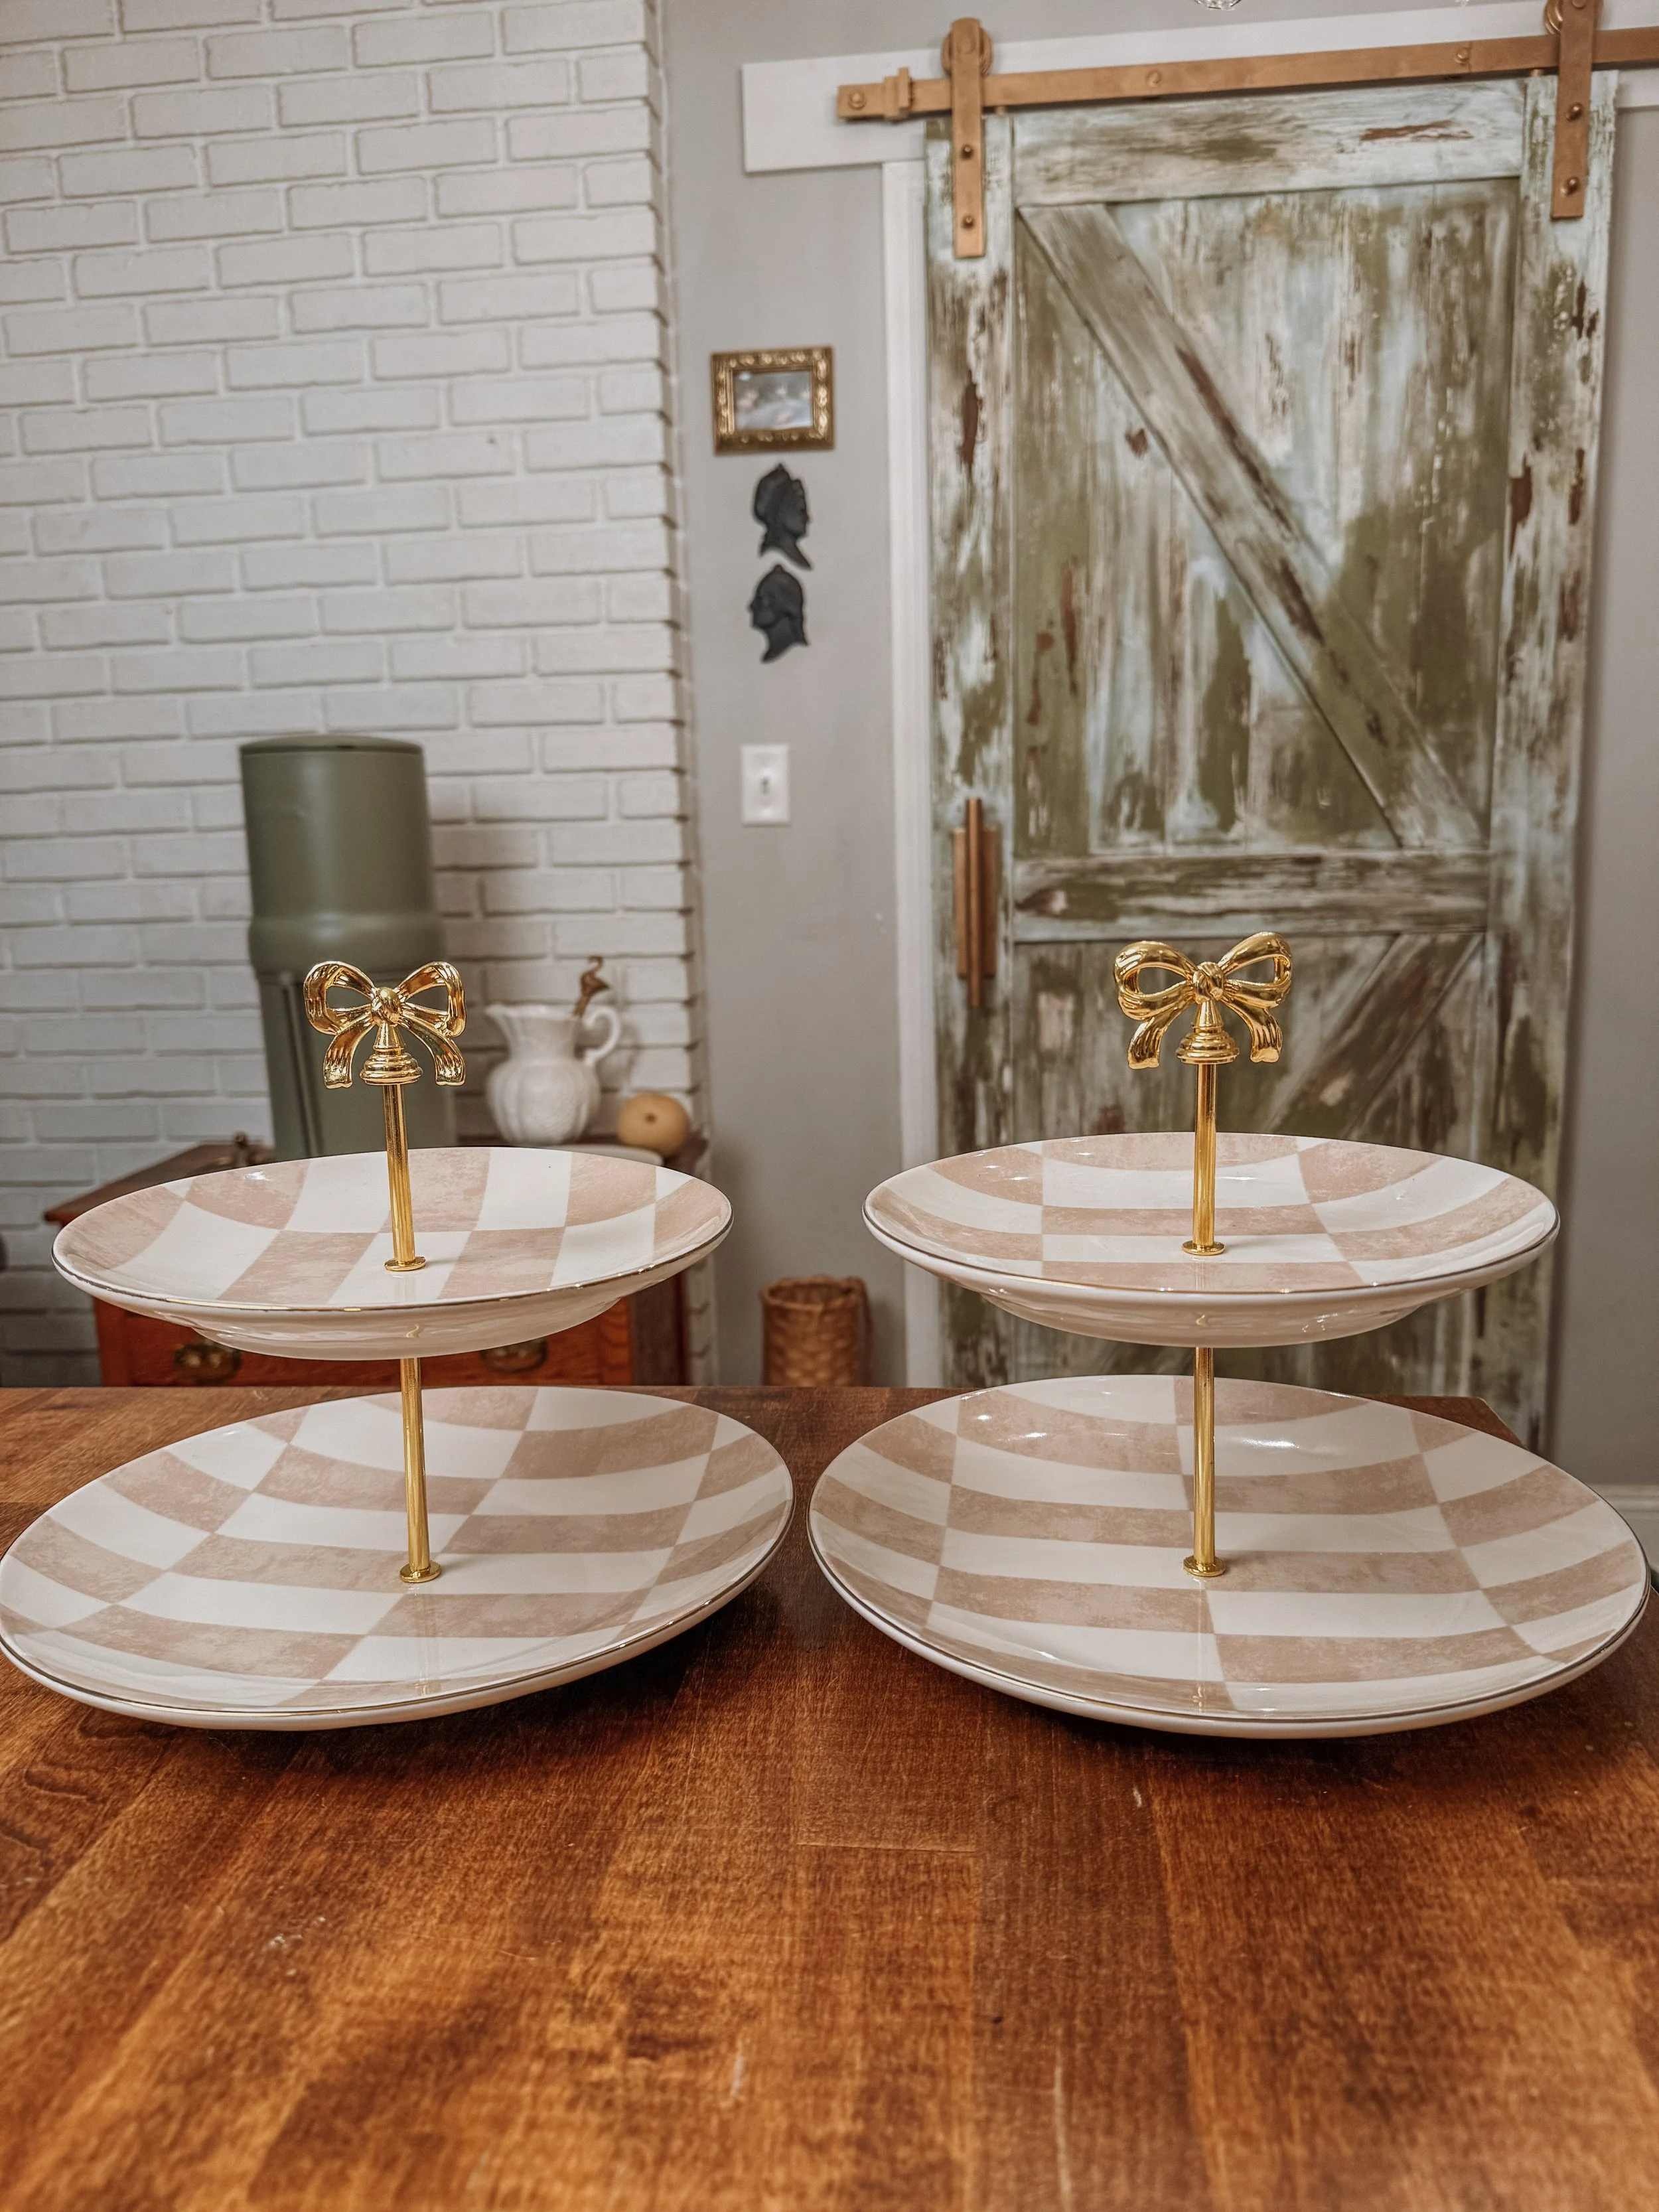
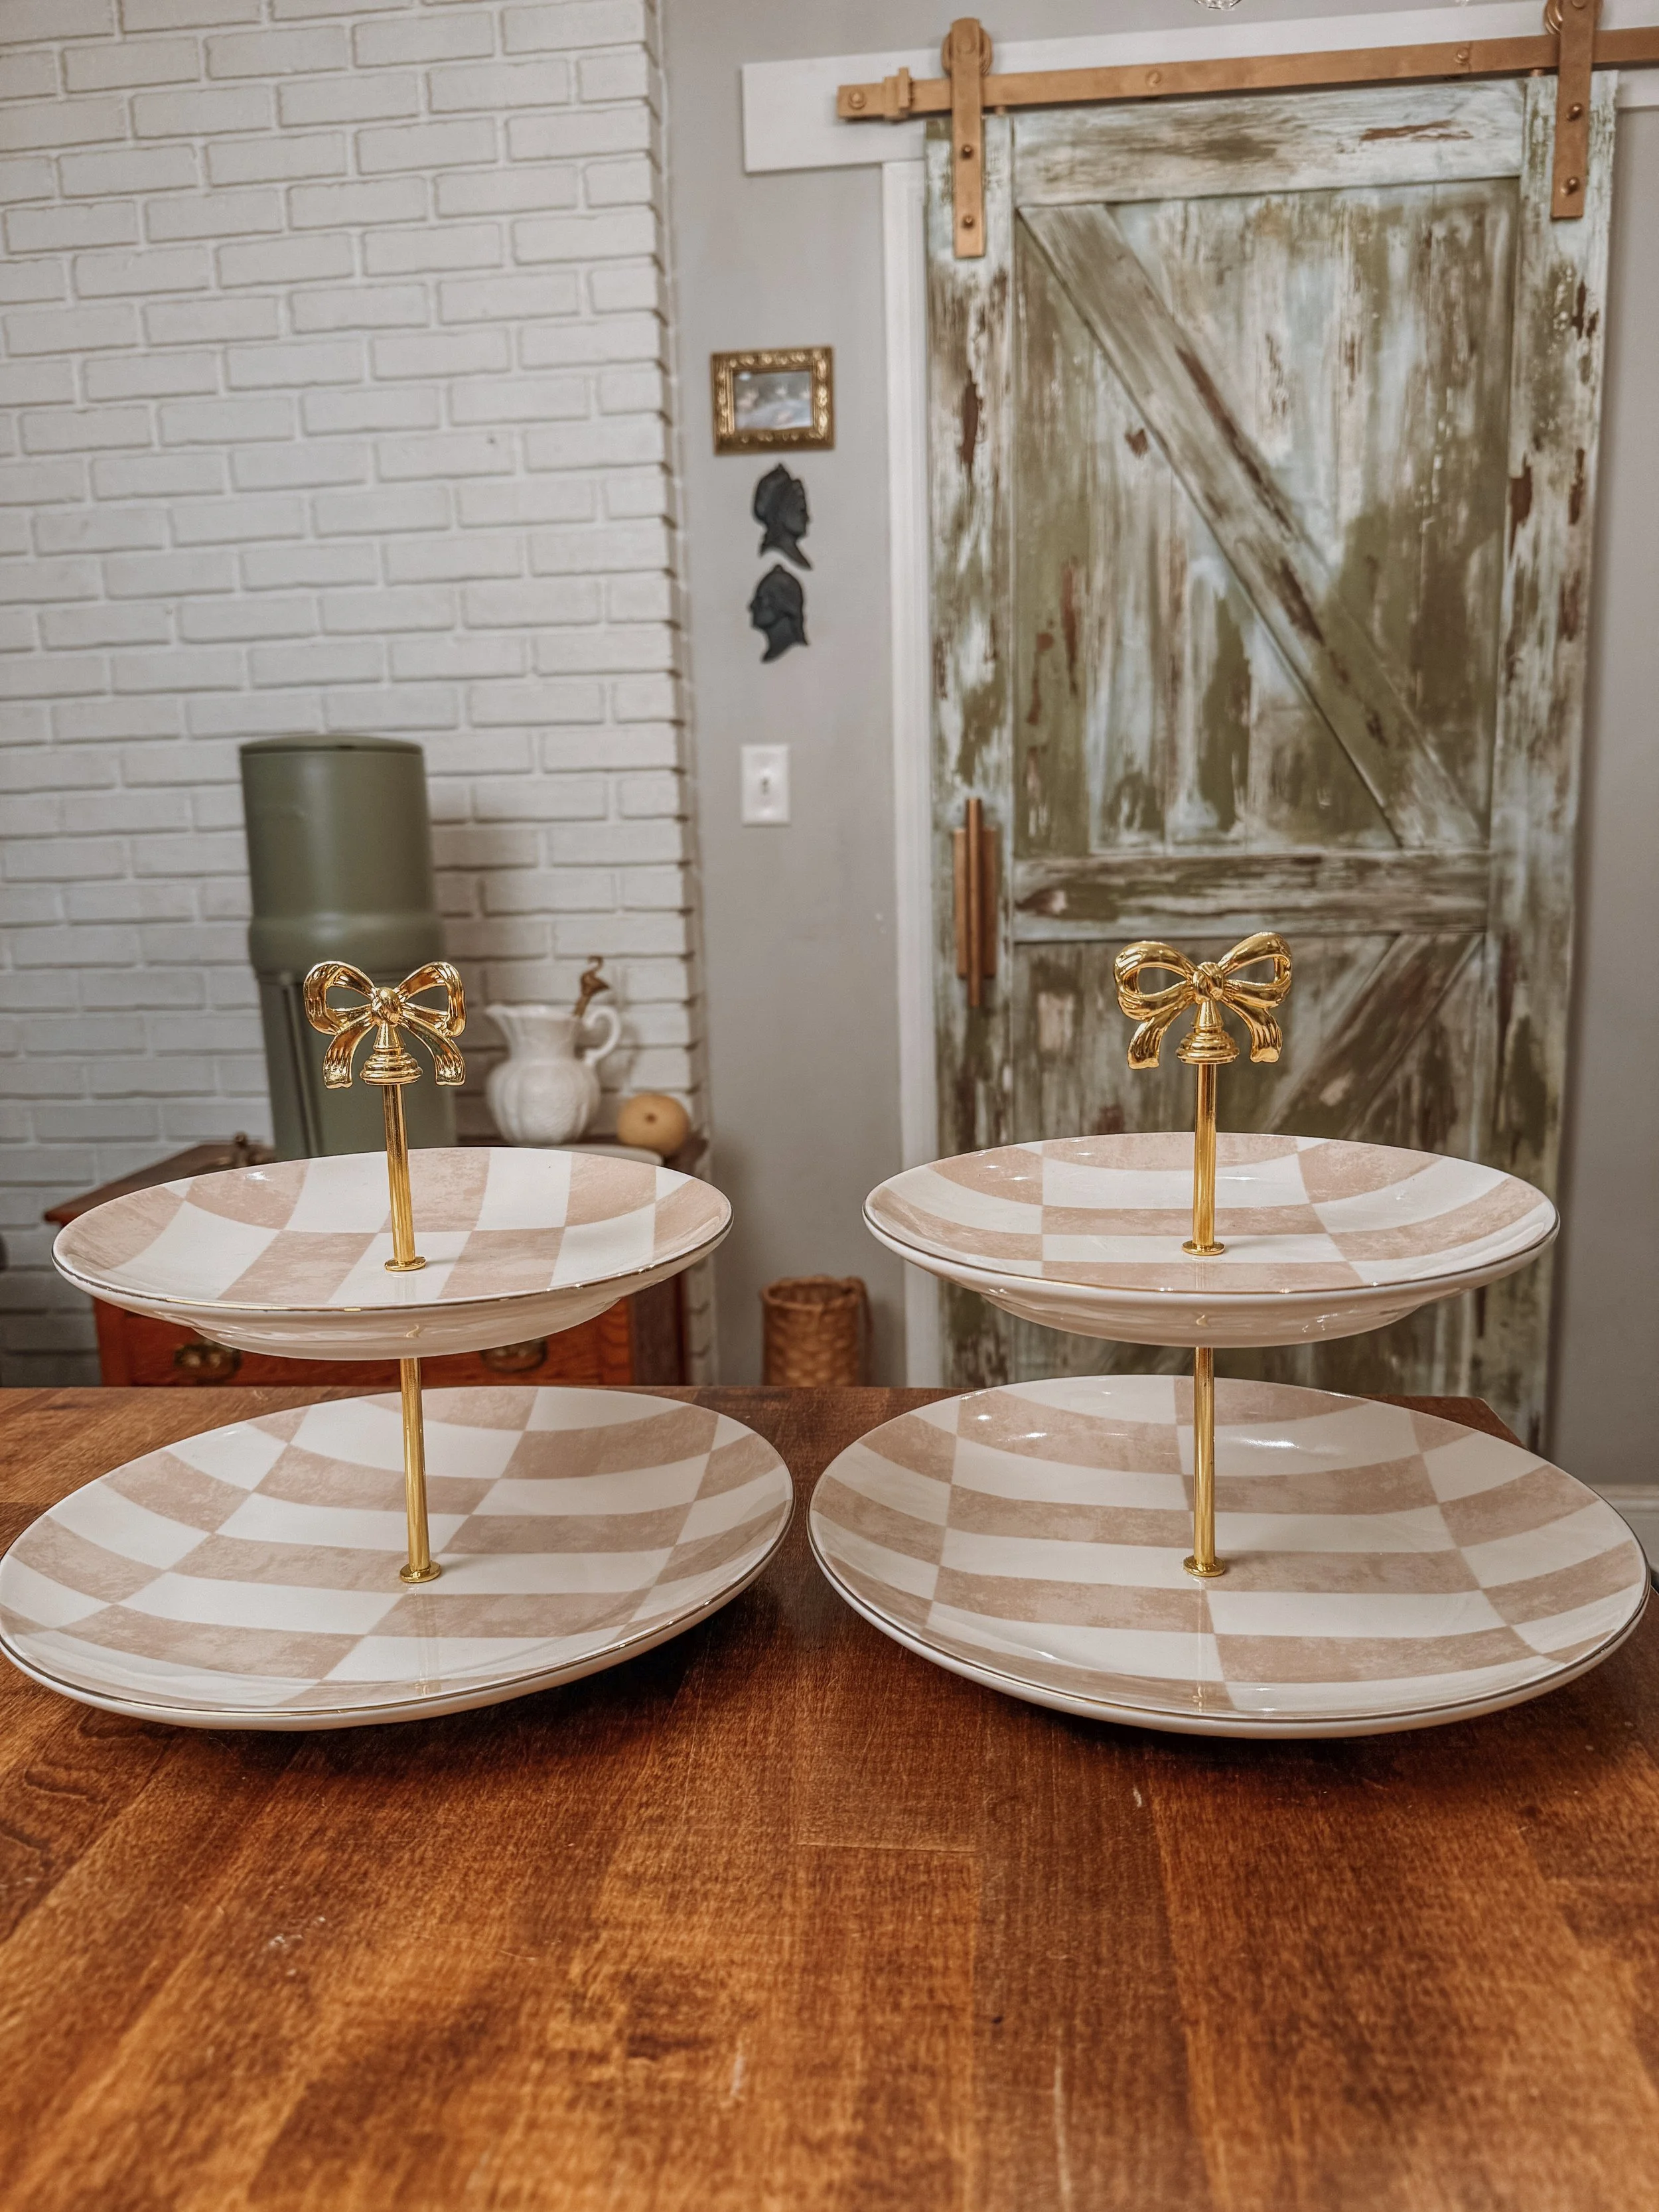
If you’ve been eyeing those beautiful Mackenzie-Childs-inspired checked dishes but don’t want to spend a fortune, this DIY is for you! I found the prettiest neutral checkered plates at Walmart and turned them into the sweetest two-tier serving stands with just a few simple supplies.
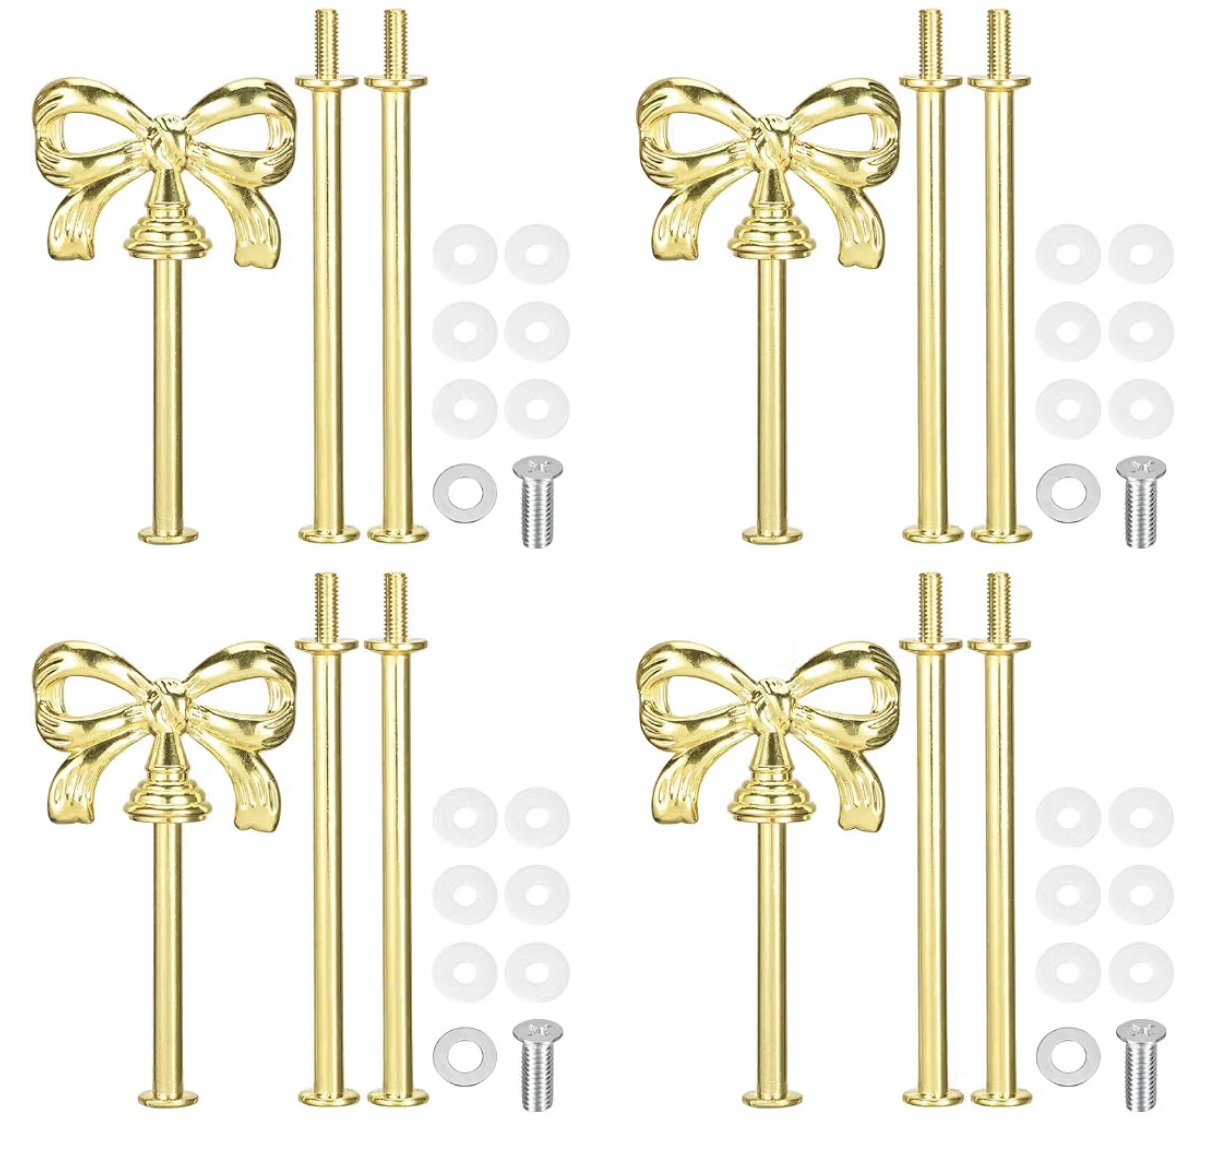
I love how the soft blush-tan and ivory checkerboard pattern gives these stands a vintage-inspired look. Paired with the gold bow hardware, they look like something you’d find in a boutique home decor shop!
I originally made these for my baby shower, where I used them on my serving cart to display treats and desserts. They were such a pretty addition to the setup, and I love that I can continue using them for entertaining, holidays, and everyday styling.
The best part? You can make these yourself for a fraction of the price of designer-inspired tiered stands!
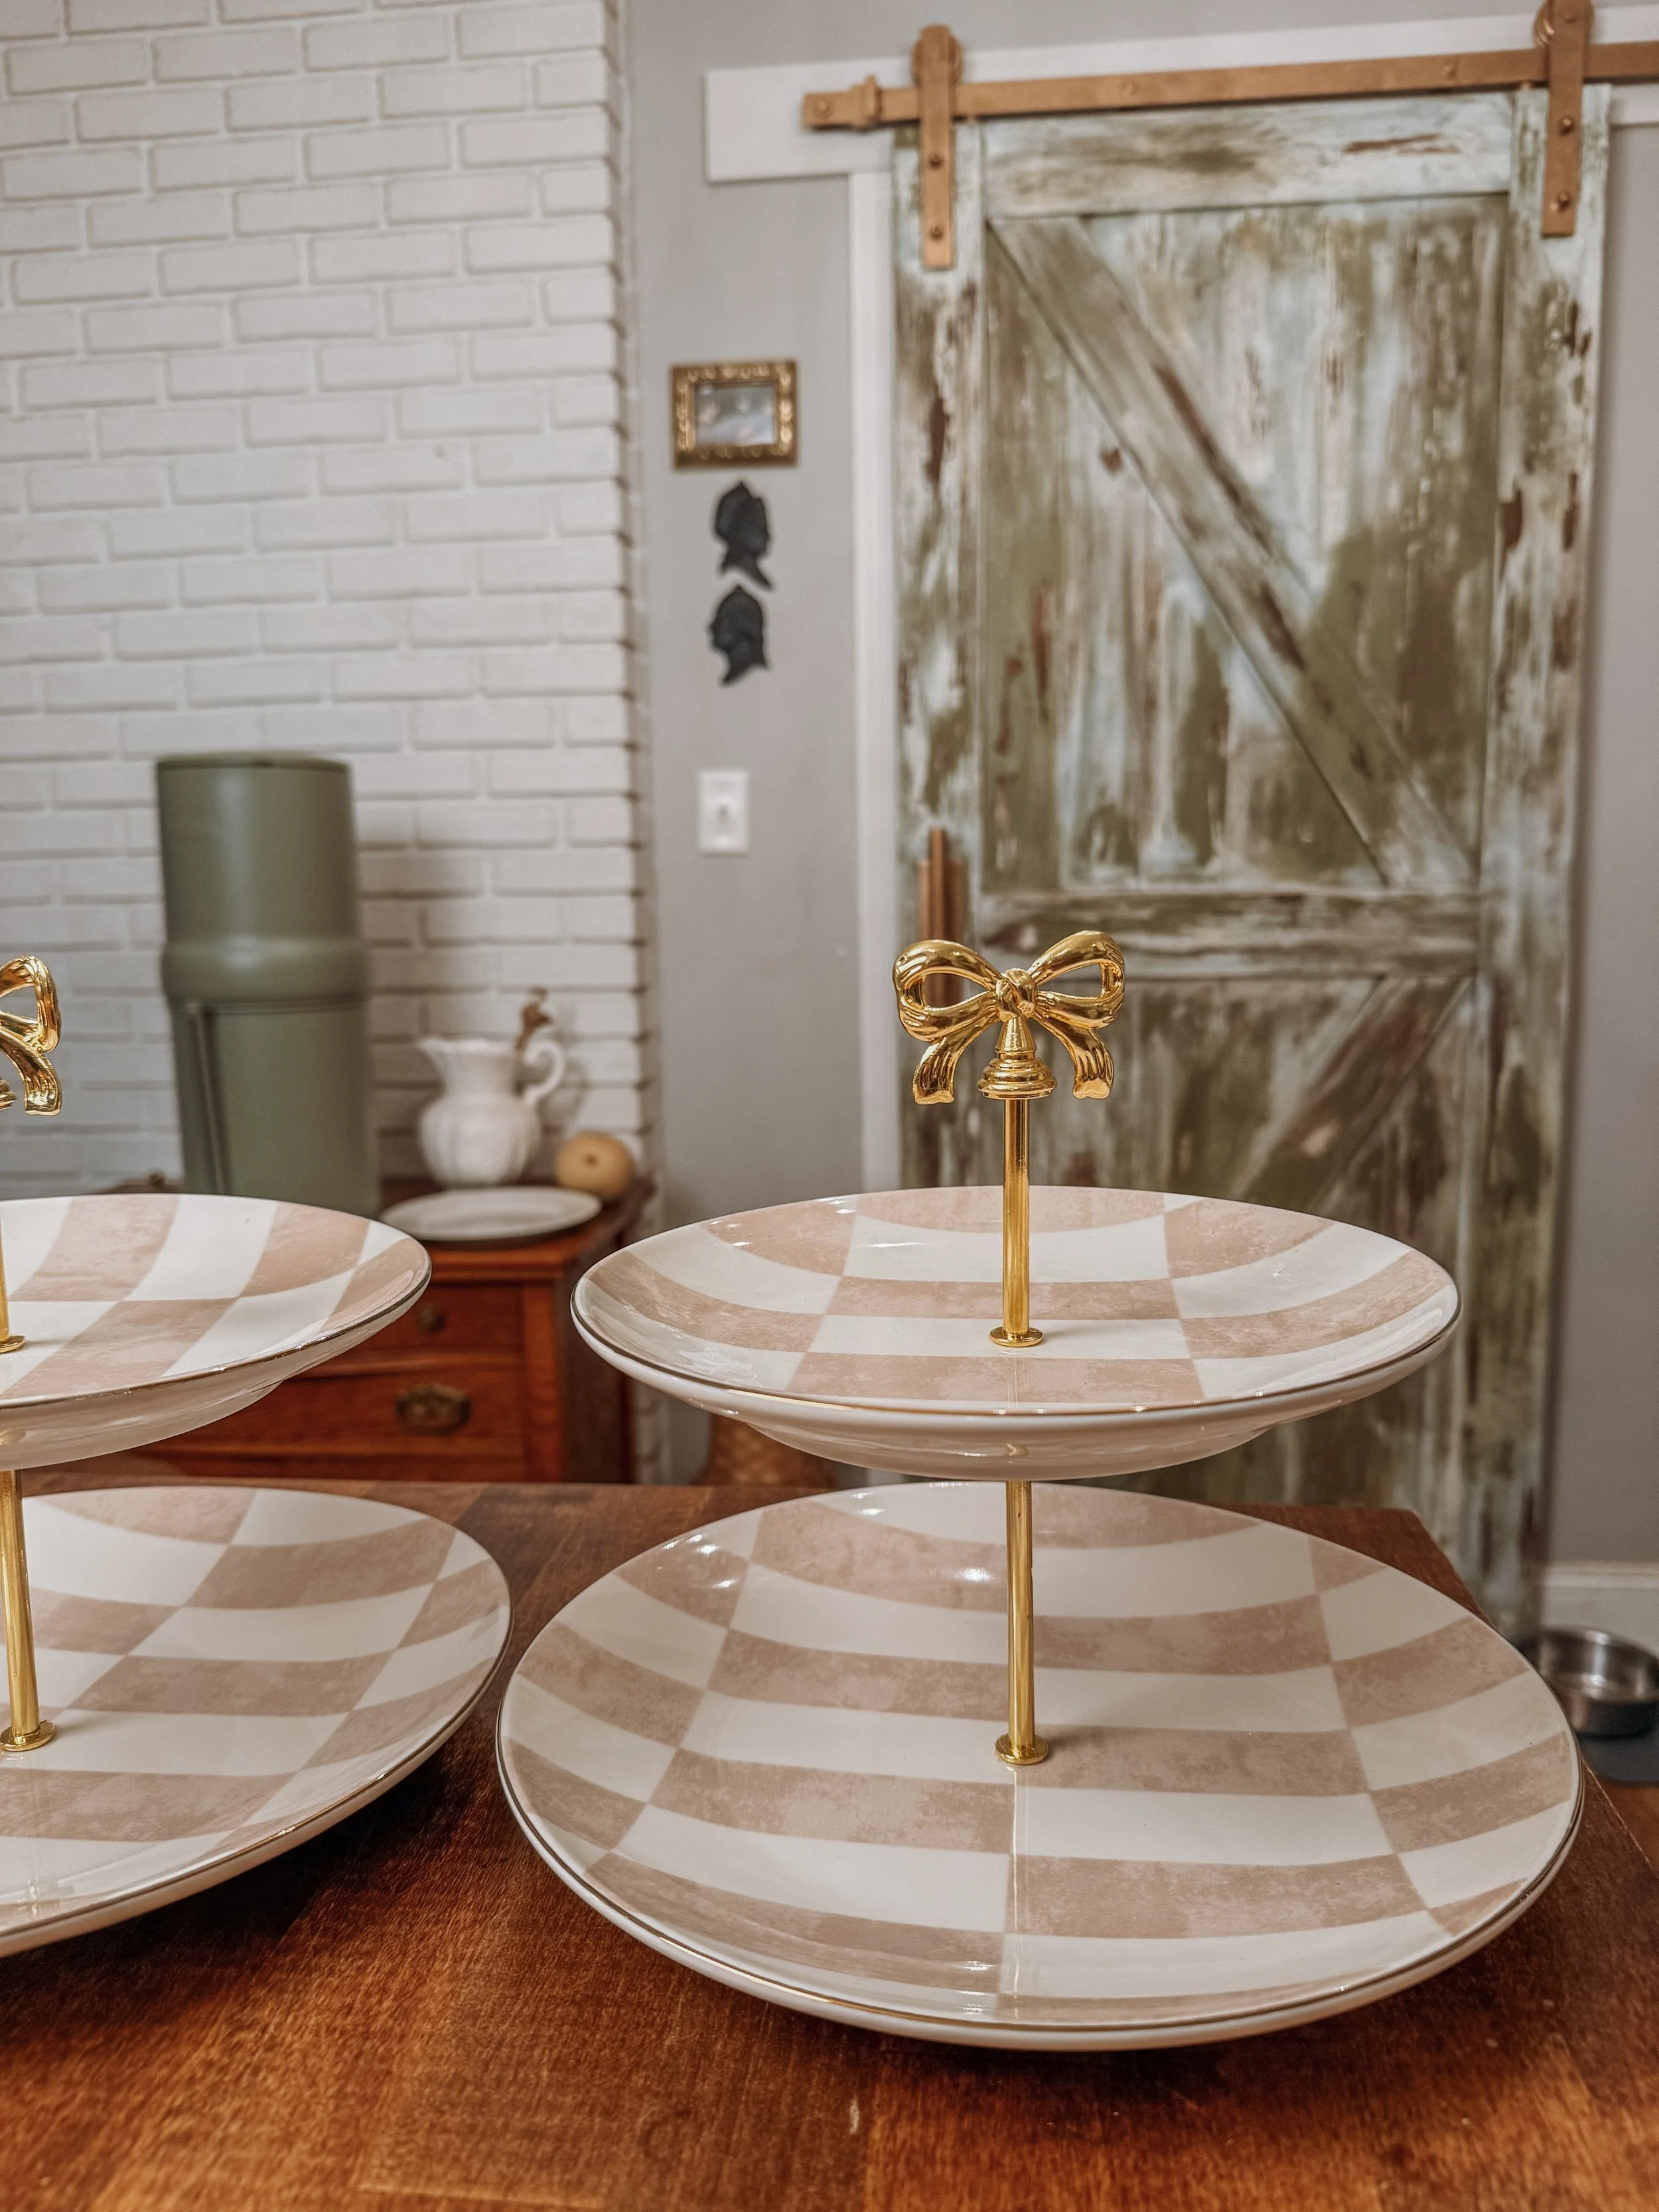
Here’s everything I used to make these DIY tiered plate stands:
● Walmart Thyme & Table Celine Ceramic Dinner Plate – Tan (one per stand)
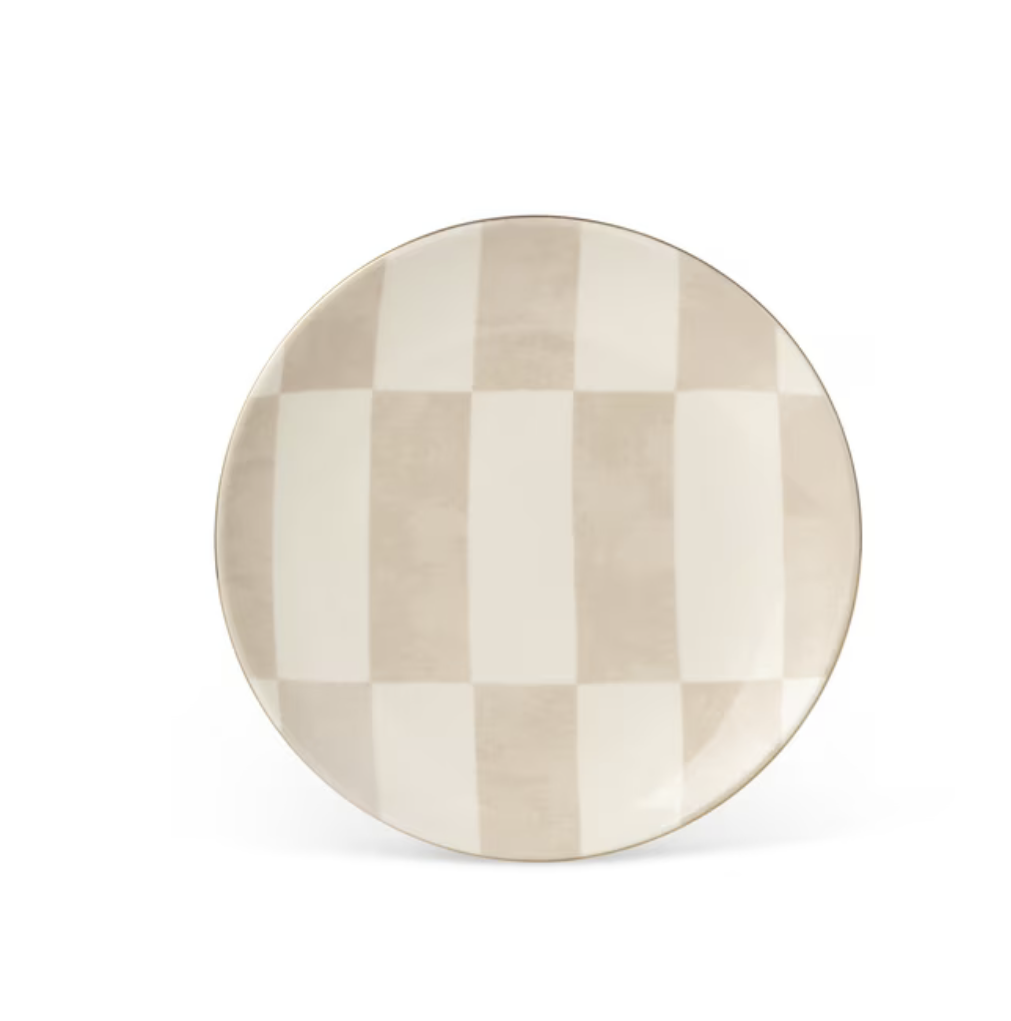
● Walmart Thyme & Table Celine Ceramic Salad Plate – Tan (one per stand)
● Gold Bow-Knot Tiered Plate Stand Hardware – I purchased the uxcell 4-set hardware kit from Amazon.
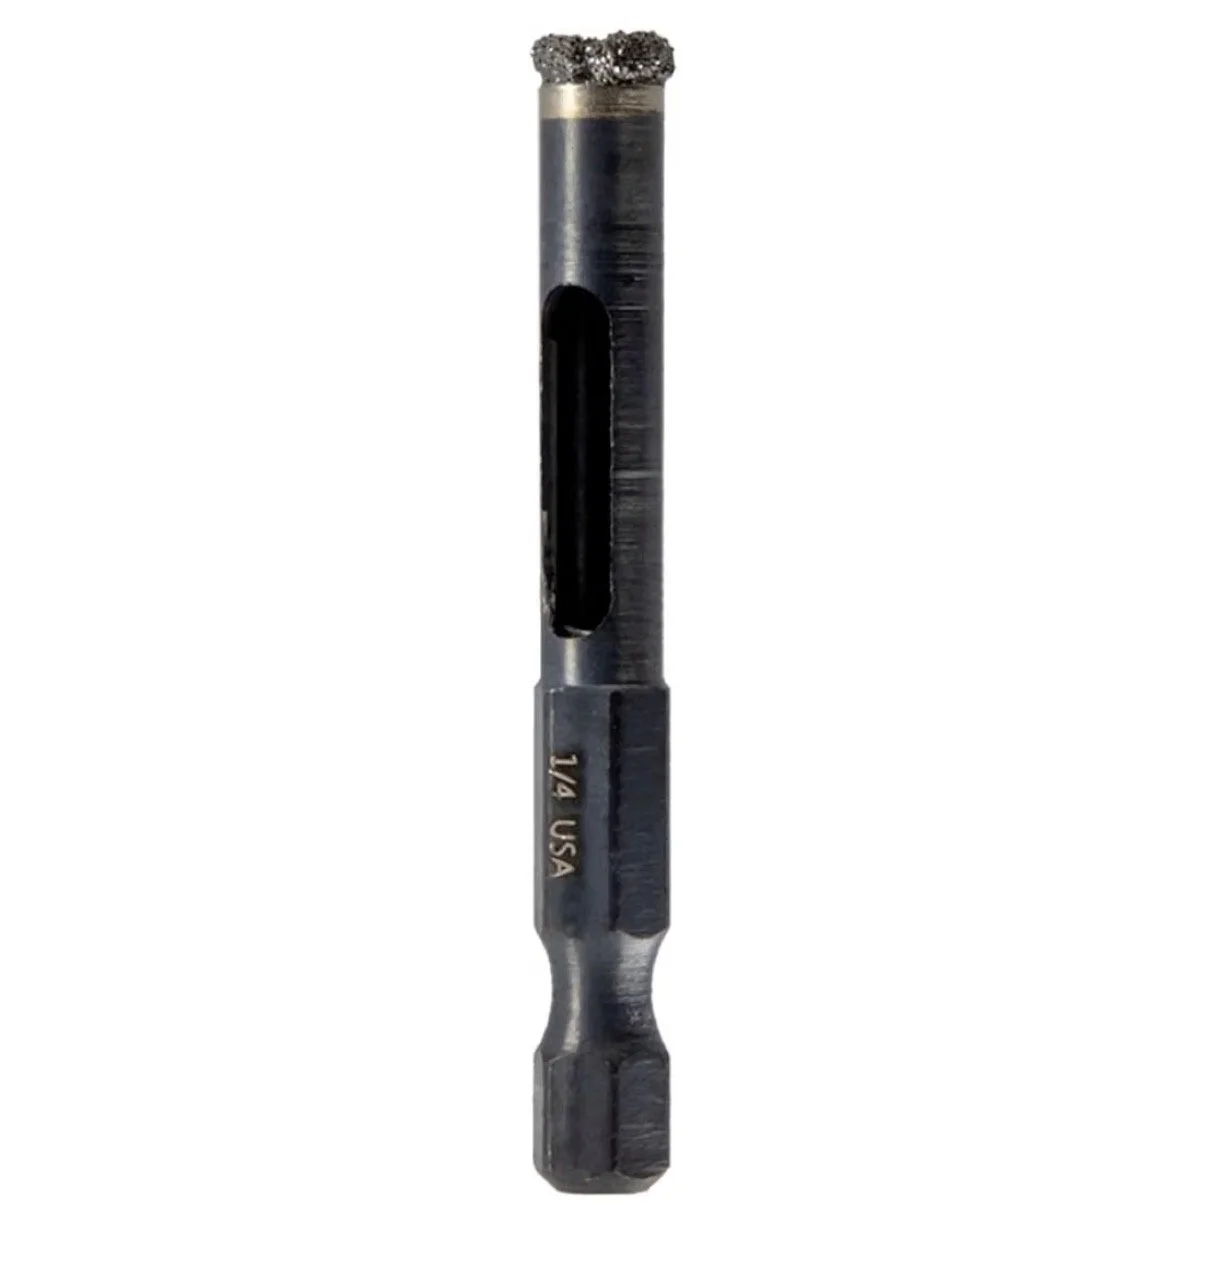
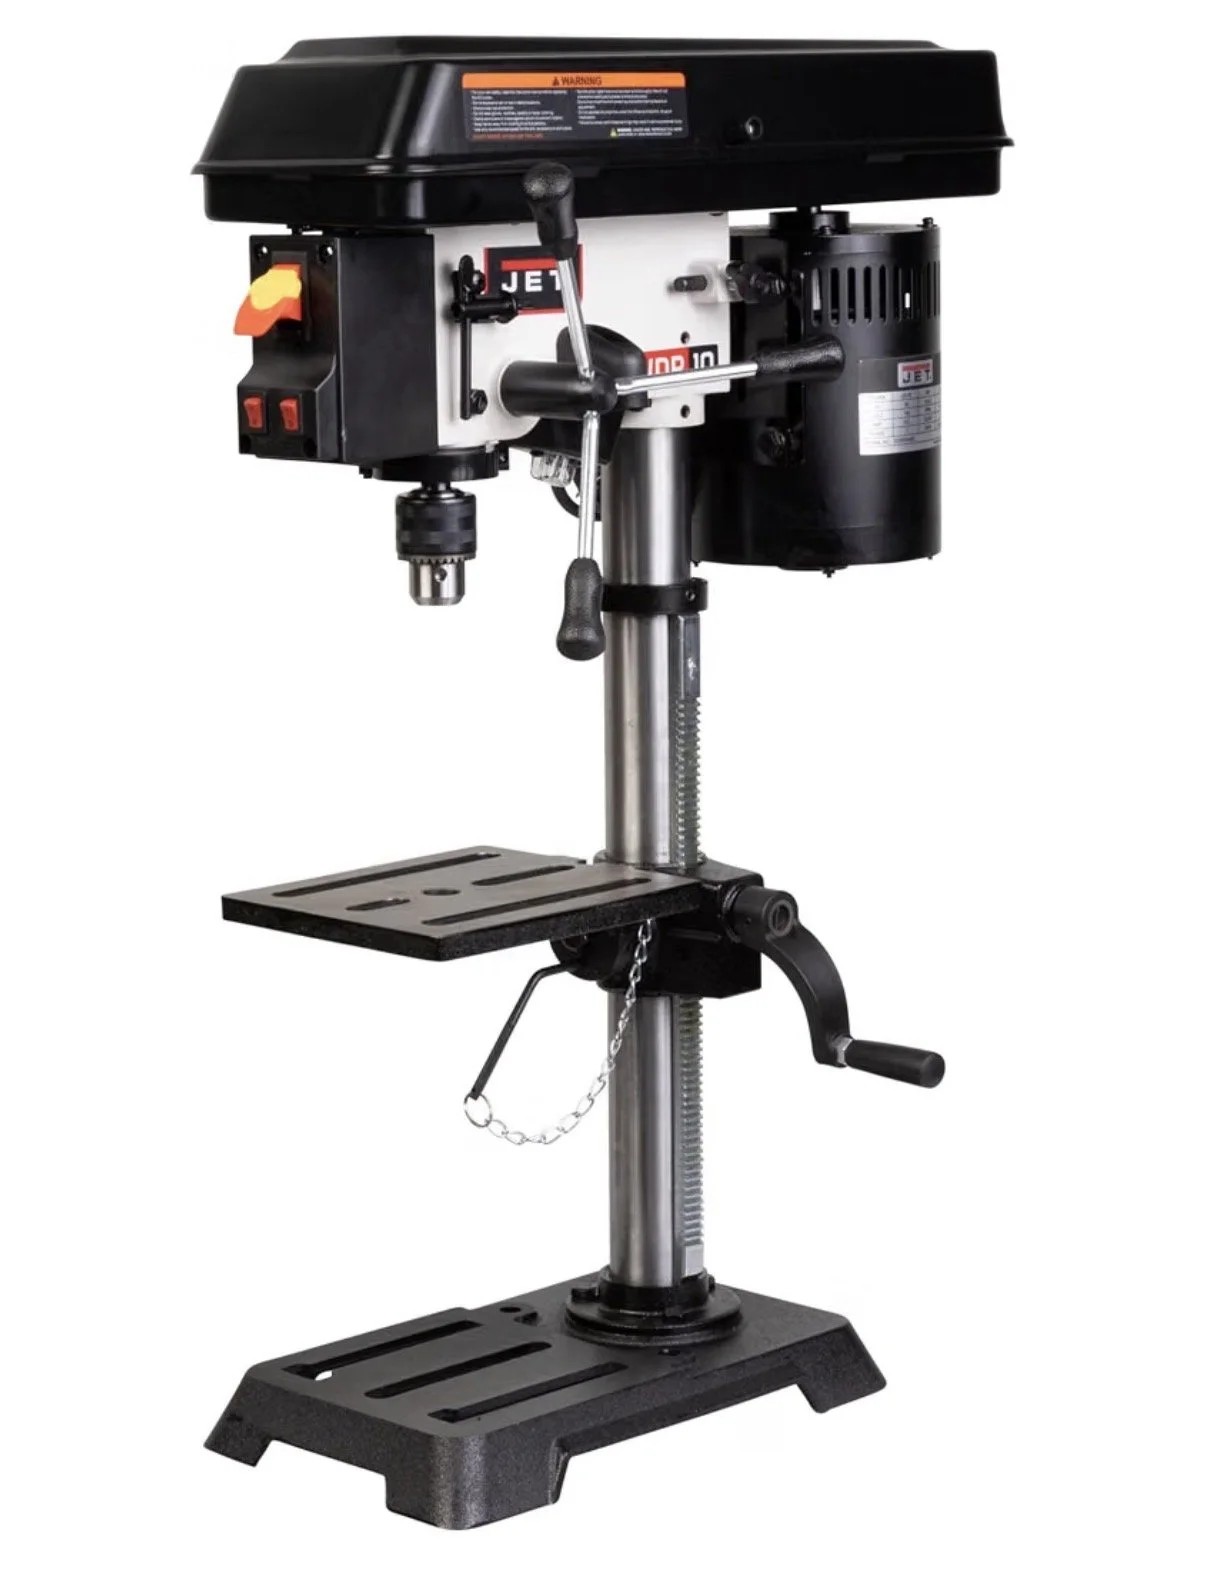
● Diamond drill bit with either drill gun or drill press
● Measuring tape
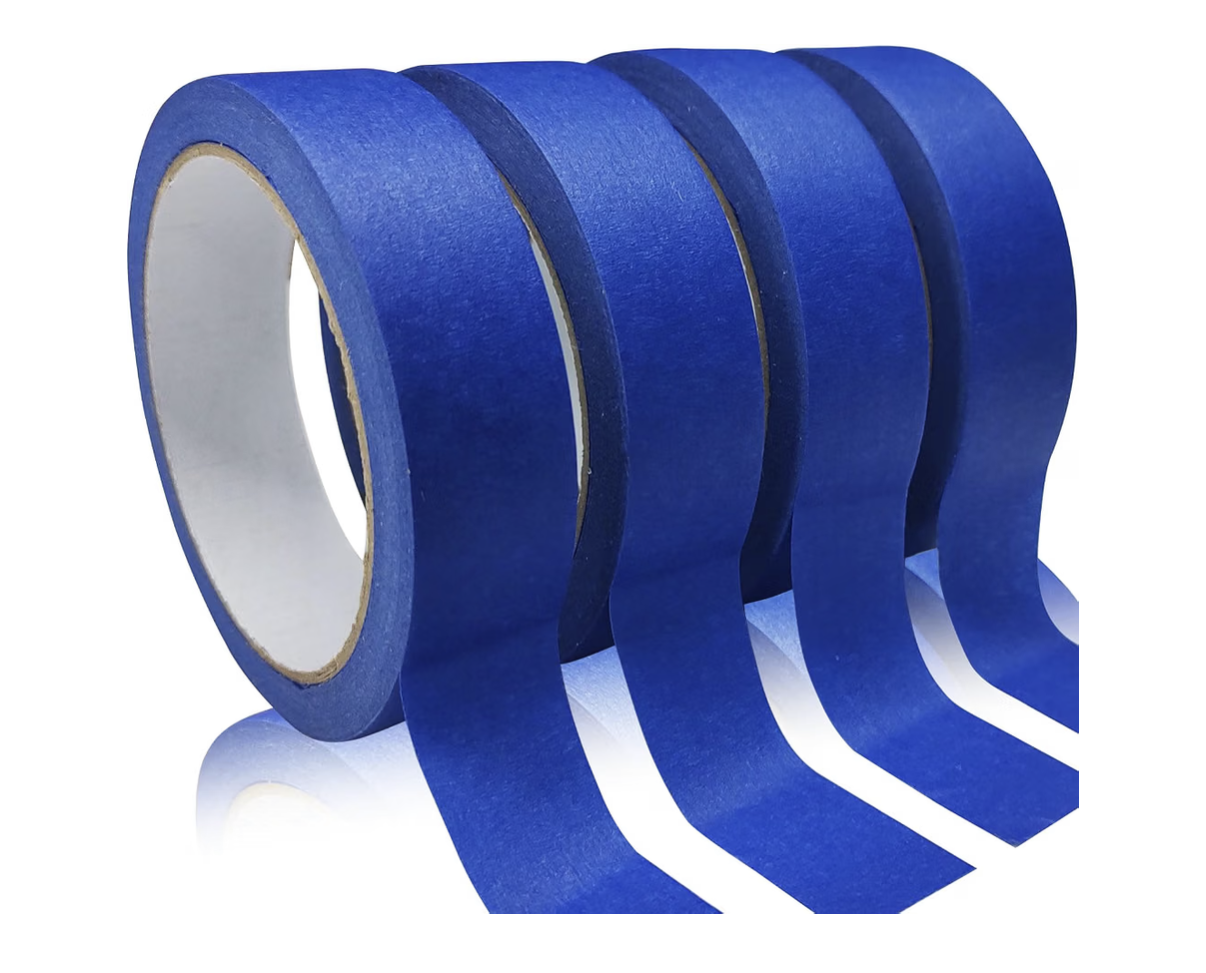
● Masking tape
● with either drill gun or drill press
Shop the supplies:
● Walmart Dinner Plates – Thyme & Table Celine Tan
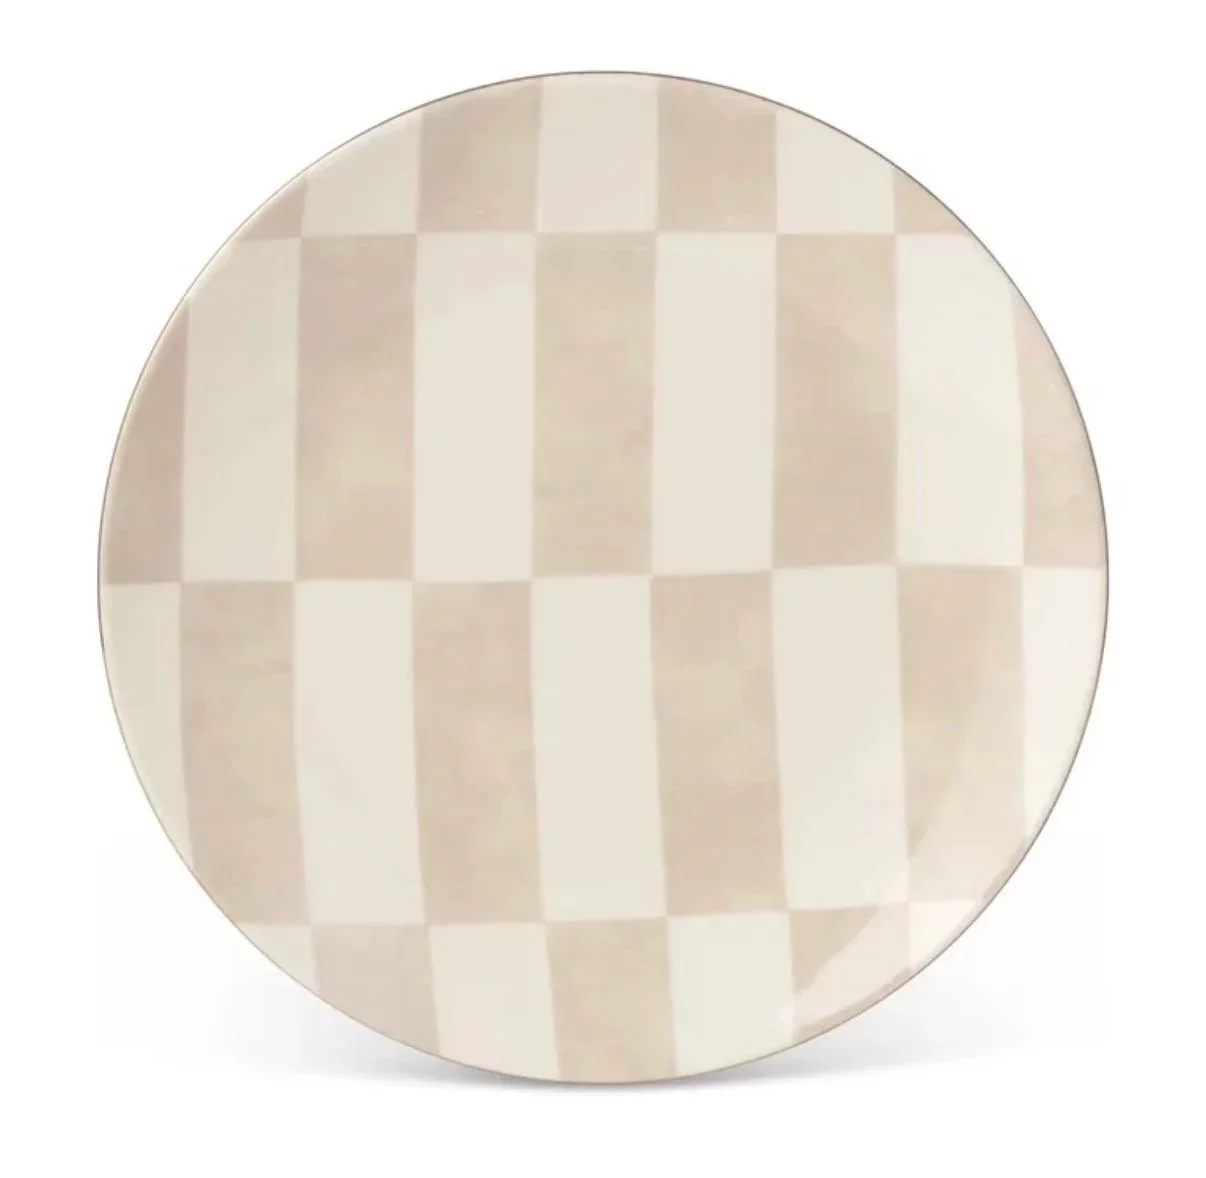
● Walmart Salad Plates – Thyme & Table Celine Tan
● Amazon Gold Bow Plate Stand Hardware
● Diamond Tip Drill Bit
● Drill Press
● Masking Tape
● Measuring Tape
How to Make a DIY Tiered Plate Stand
Step 1: Gather Your Plates and Hardware
Start by gathering your dinner plates, salad plates, and gold bow hardware. I chose the Thyme & Table Celine plates from Walmart because the neutral checkerboard pattern reminded me so much of the classic Mackenzie-Childs look.
The combination of the blush-tan checks, creamy ivory background, and gold bow hardware is what makes this DIY so pretty!
Step 2: Measure and Mark the Center of Each Plate
Before drilling, you’ll want to find the exact center of each plate. Use a measuring tape to measure across the plate and mark the center point.
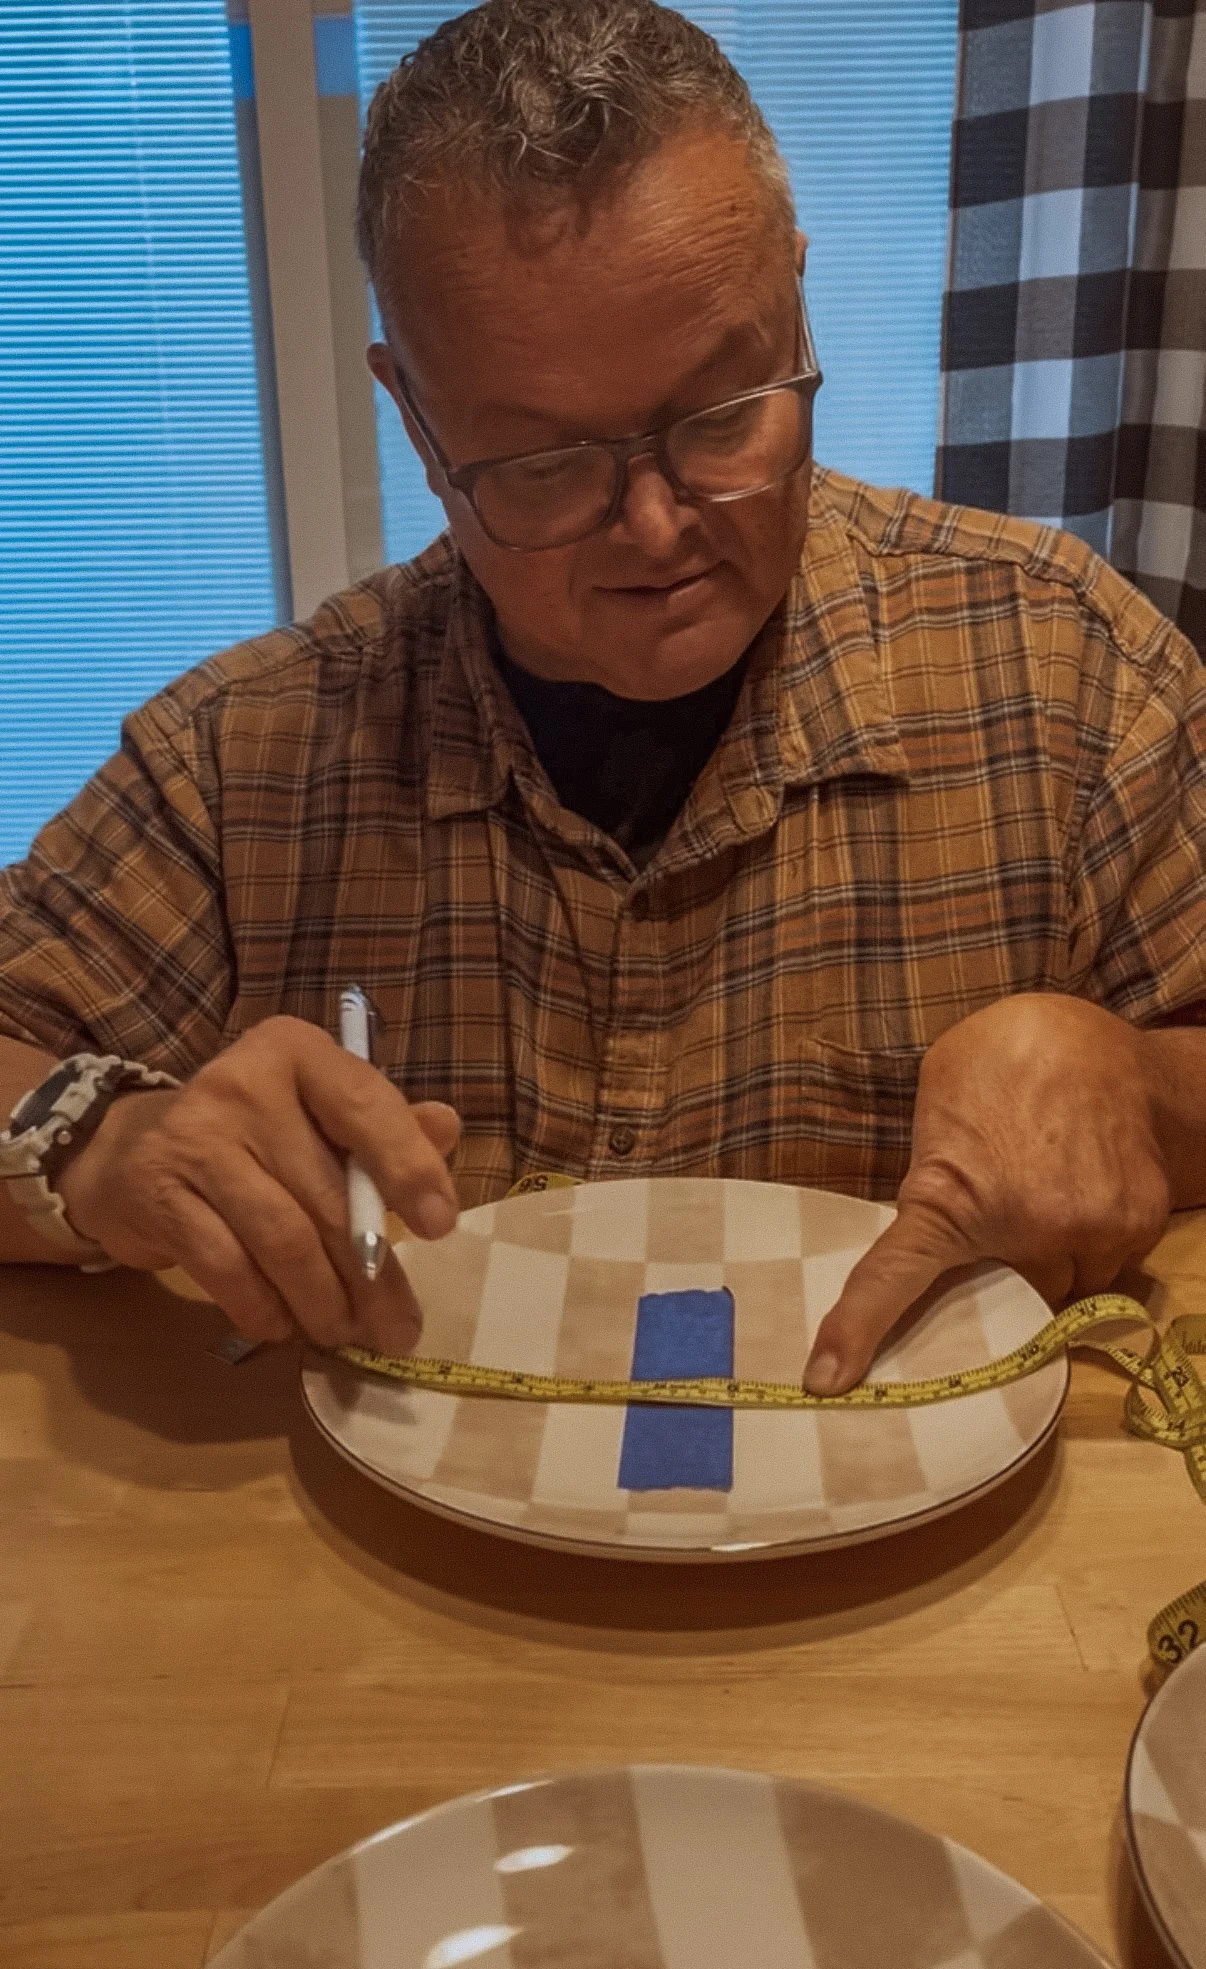
I recommend placing masking tape over the area where you’ll be drilling. This helps give you a visible marking surface and can help prevent the drill bit from slipping.
Take your time with this step because getting the holes centered is important for making sure your finished stand sits evenly.
Step 3: Drill the Holes
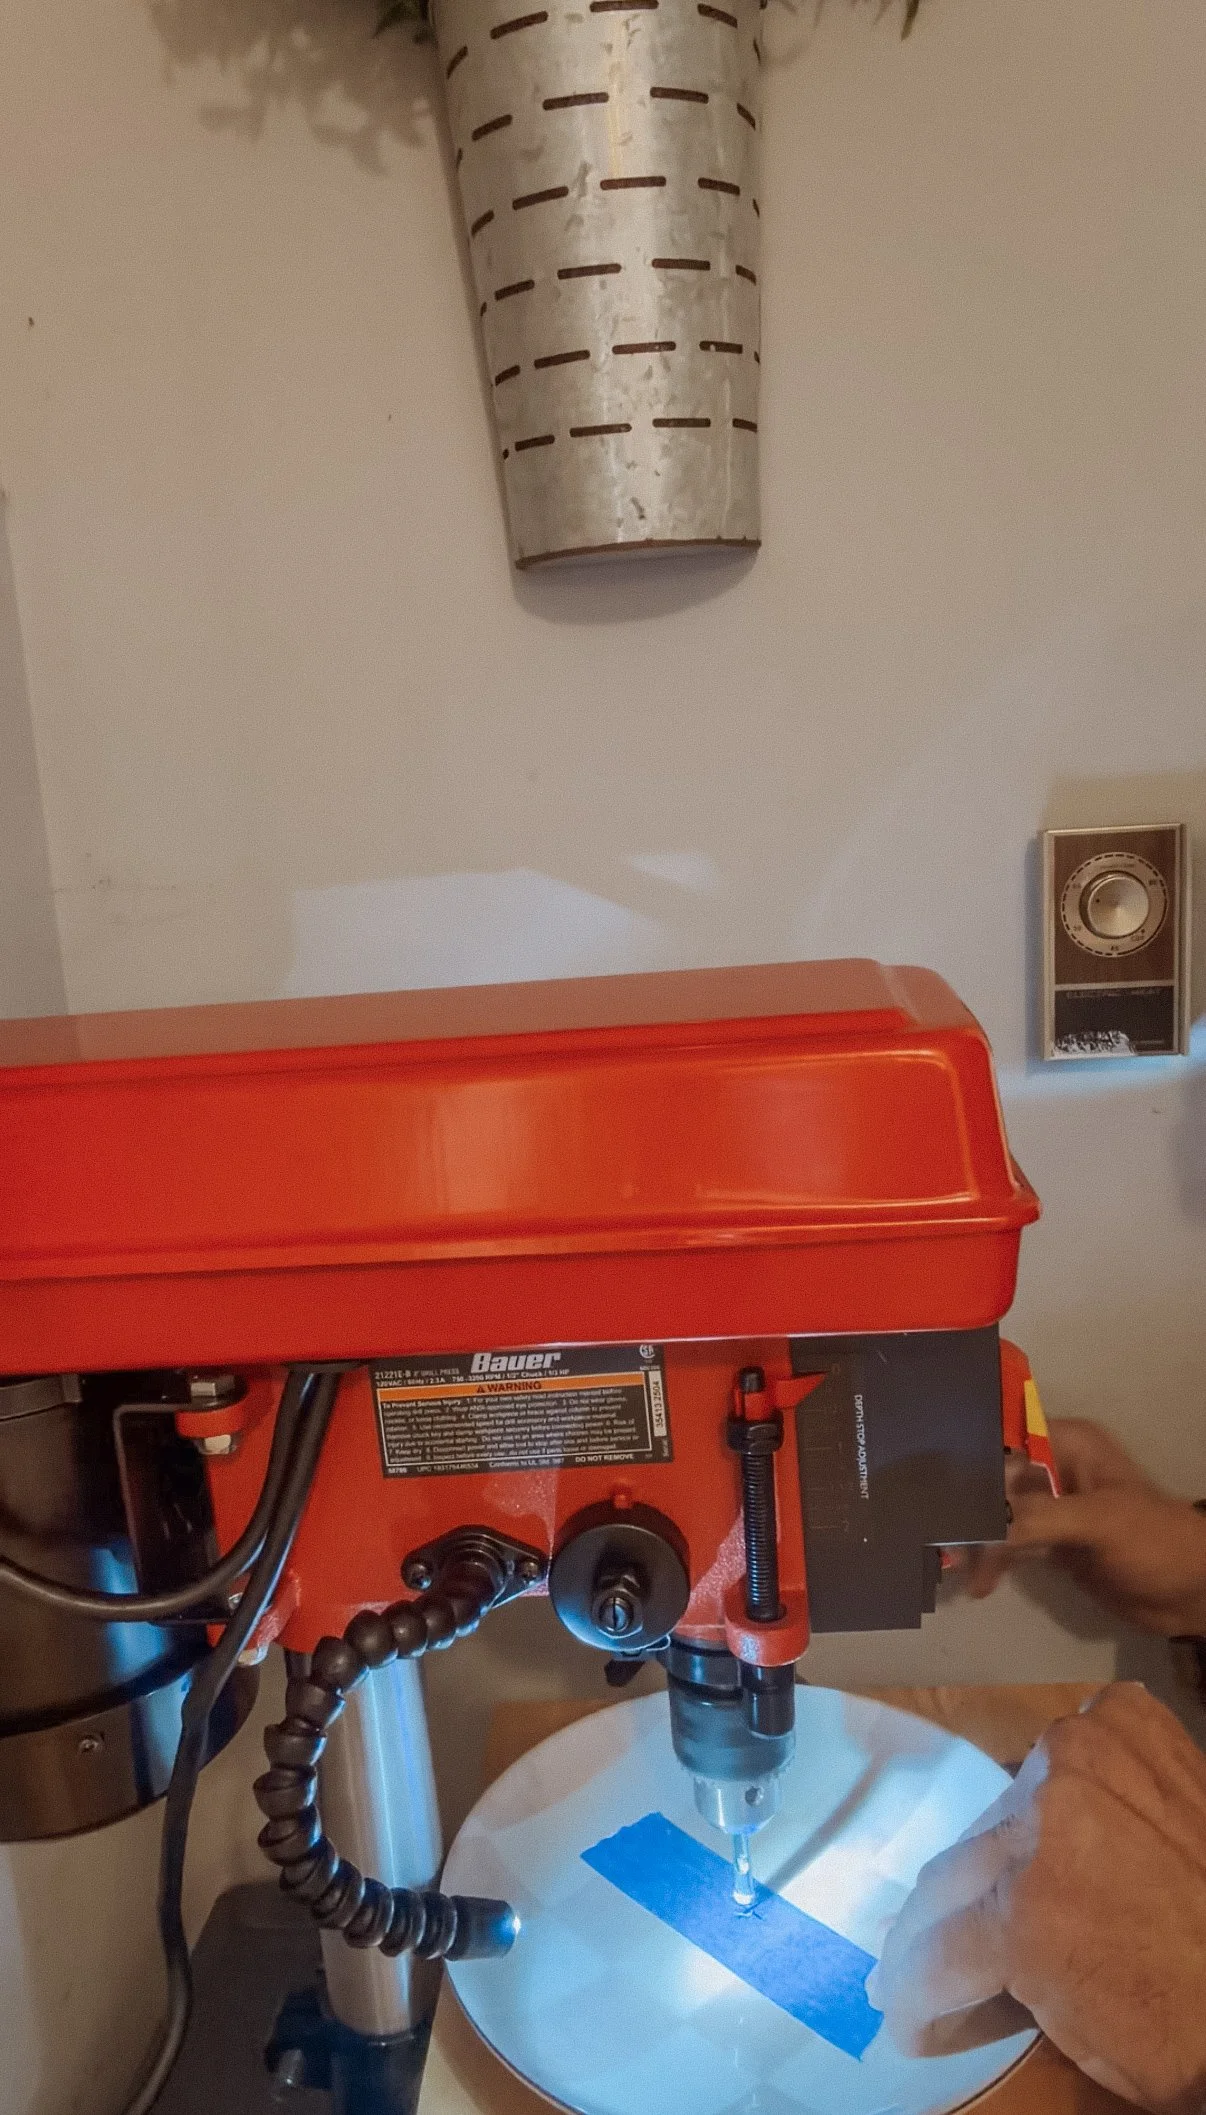
Using a drill press and an appropriate diamond-tipped drill bit designed for ceramic, carefully drill through the center of each plate.
Ceramic can crack or chip if too much pressure is applied, so work slowly and carefully. Wear eye protection, support the plates securely, and follow the drill bit manufacturer’s instructions.
Don’t rush this step! A little patience goes a long way when working with ceramic dishes.
Step 4: Assemble Your Tiered Plate Stand
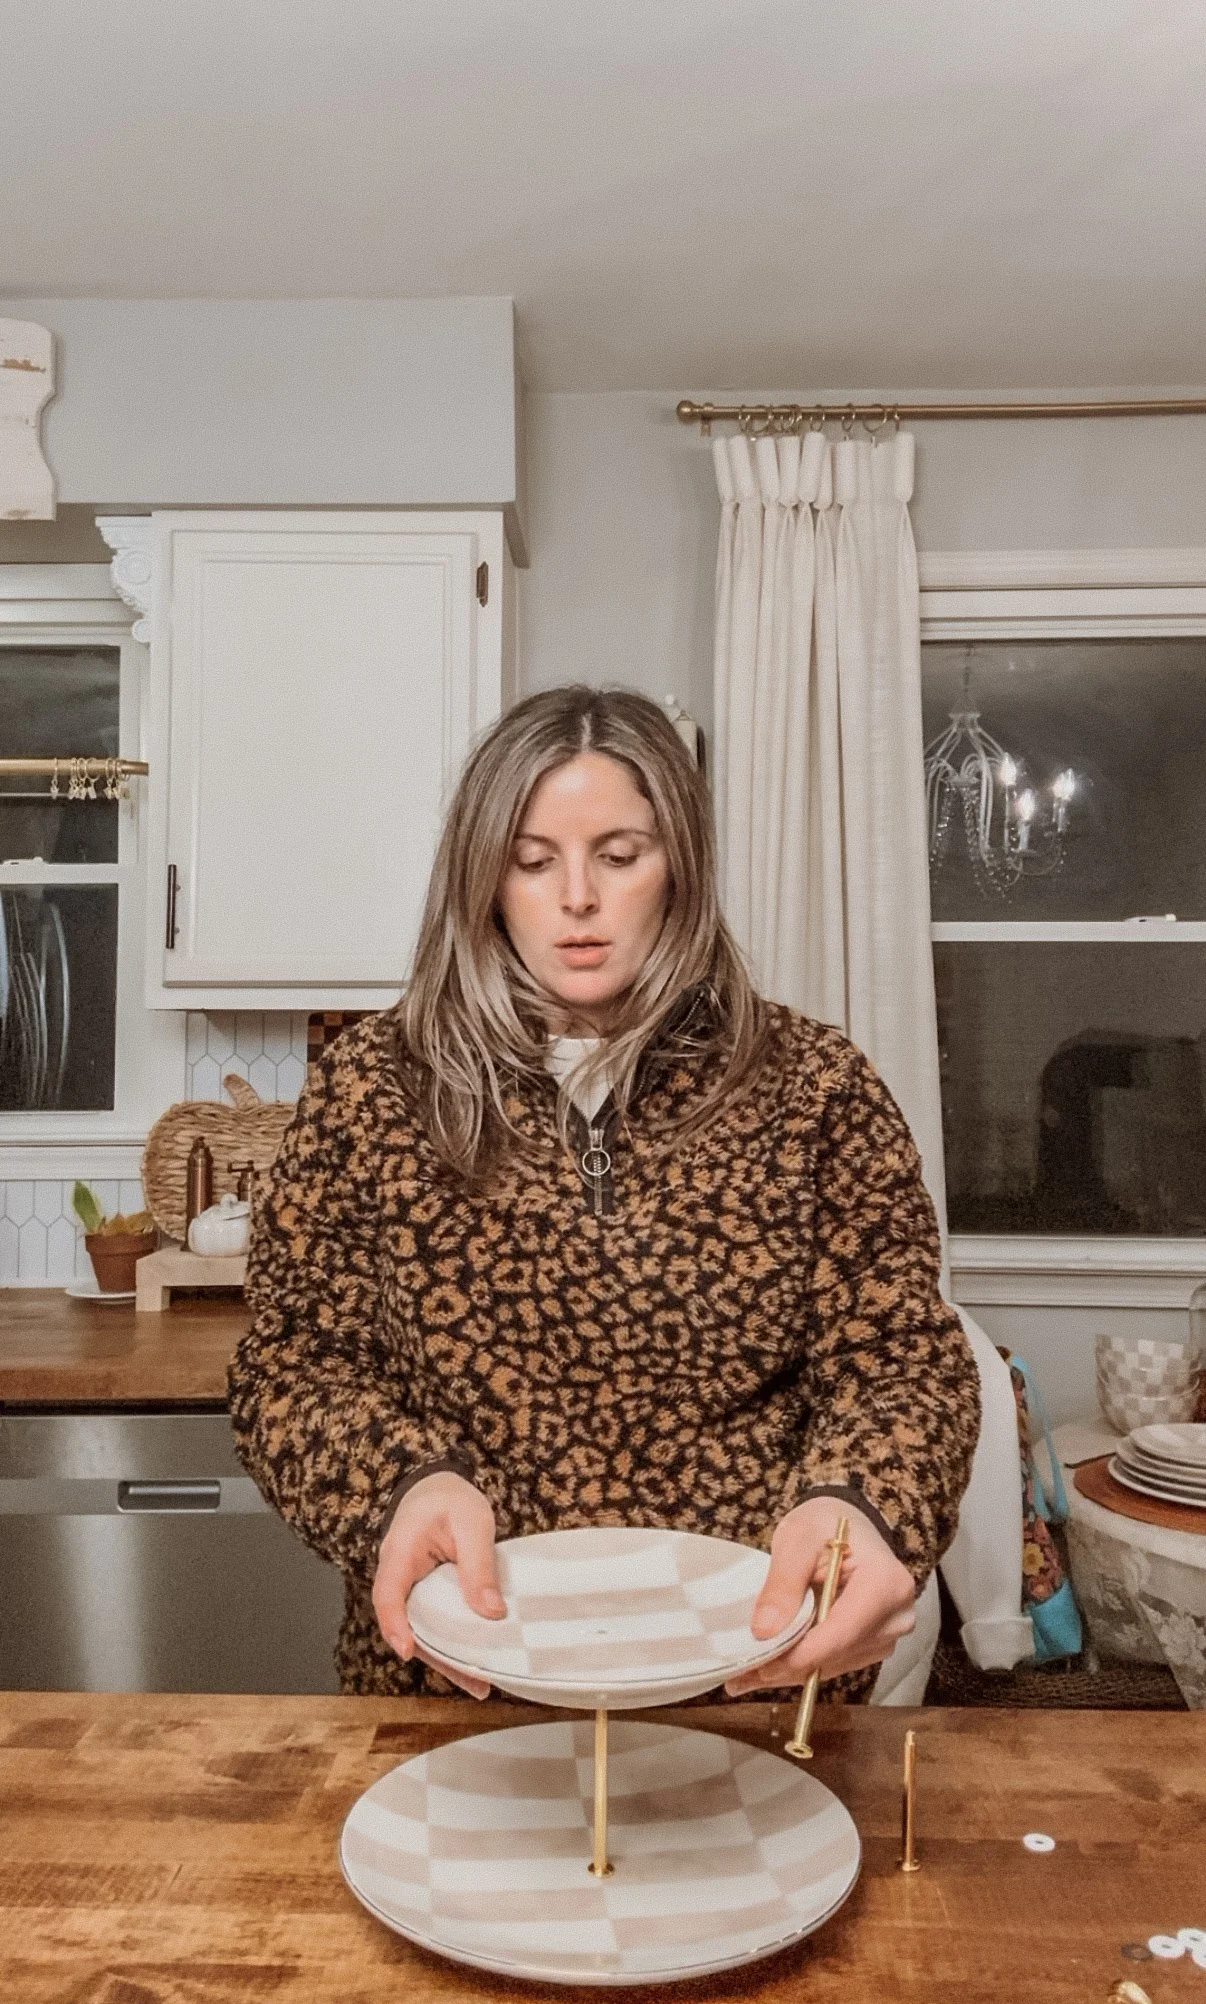
Once you’ve drilled the holes in your plates, it’s time for the fun part!
Take your gold bow-knot hardware and assemble the stand according to the included hardware instructions. Position the larger dinner plate on the bottom and the smaller salad plate on top.
Secure the hardware using the included washers and screws, making sure everything is tightened evenly and the plates sit level.
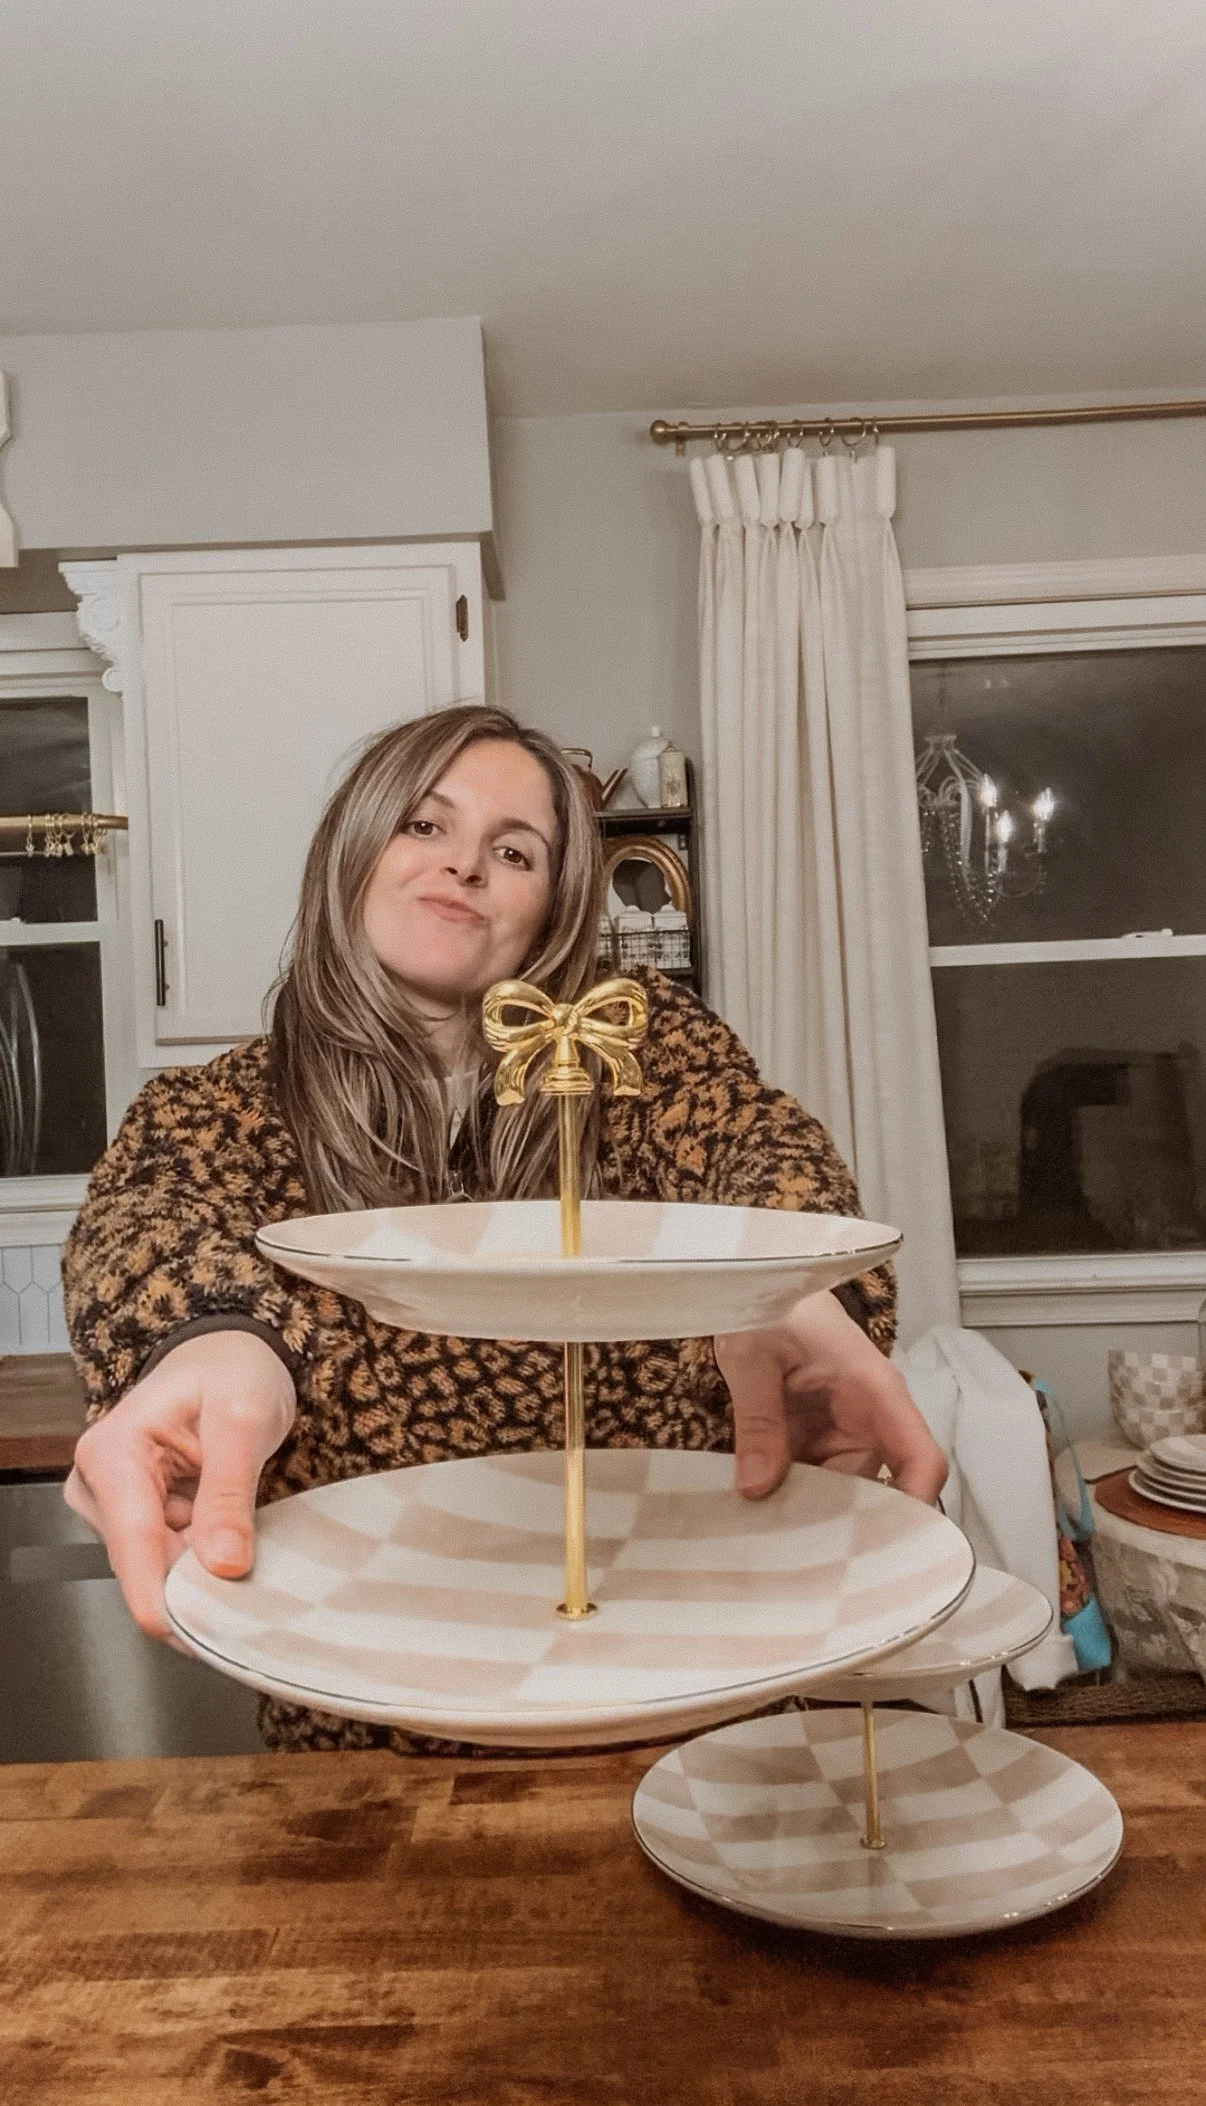
Step 5: Style and Enjoy!
And that’s it! You now have a beautiful DIY two-tier serving stand that looks much more expensive than it actually is.
I used mine at my baby shower on our serving cart to display treats, and they added the prettiest touch to the setup. I especially love how the gold bows coordinate with the neutral checkered plates.
You could also use these for Christmas treats, afternoon tea, brunch, holiday entertaining, or even as a decorative display for your kitchen.
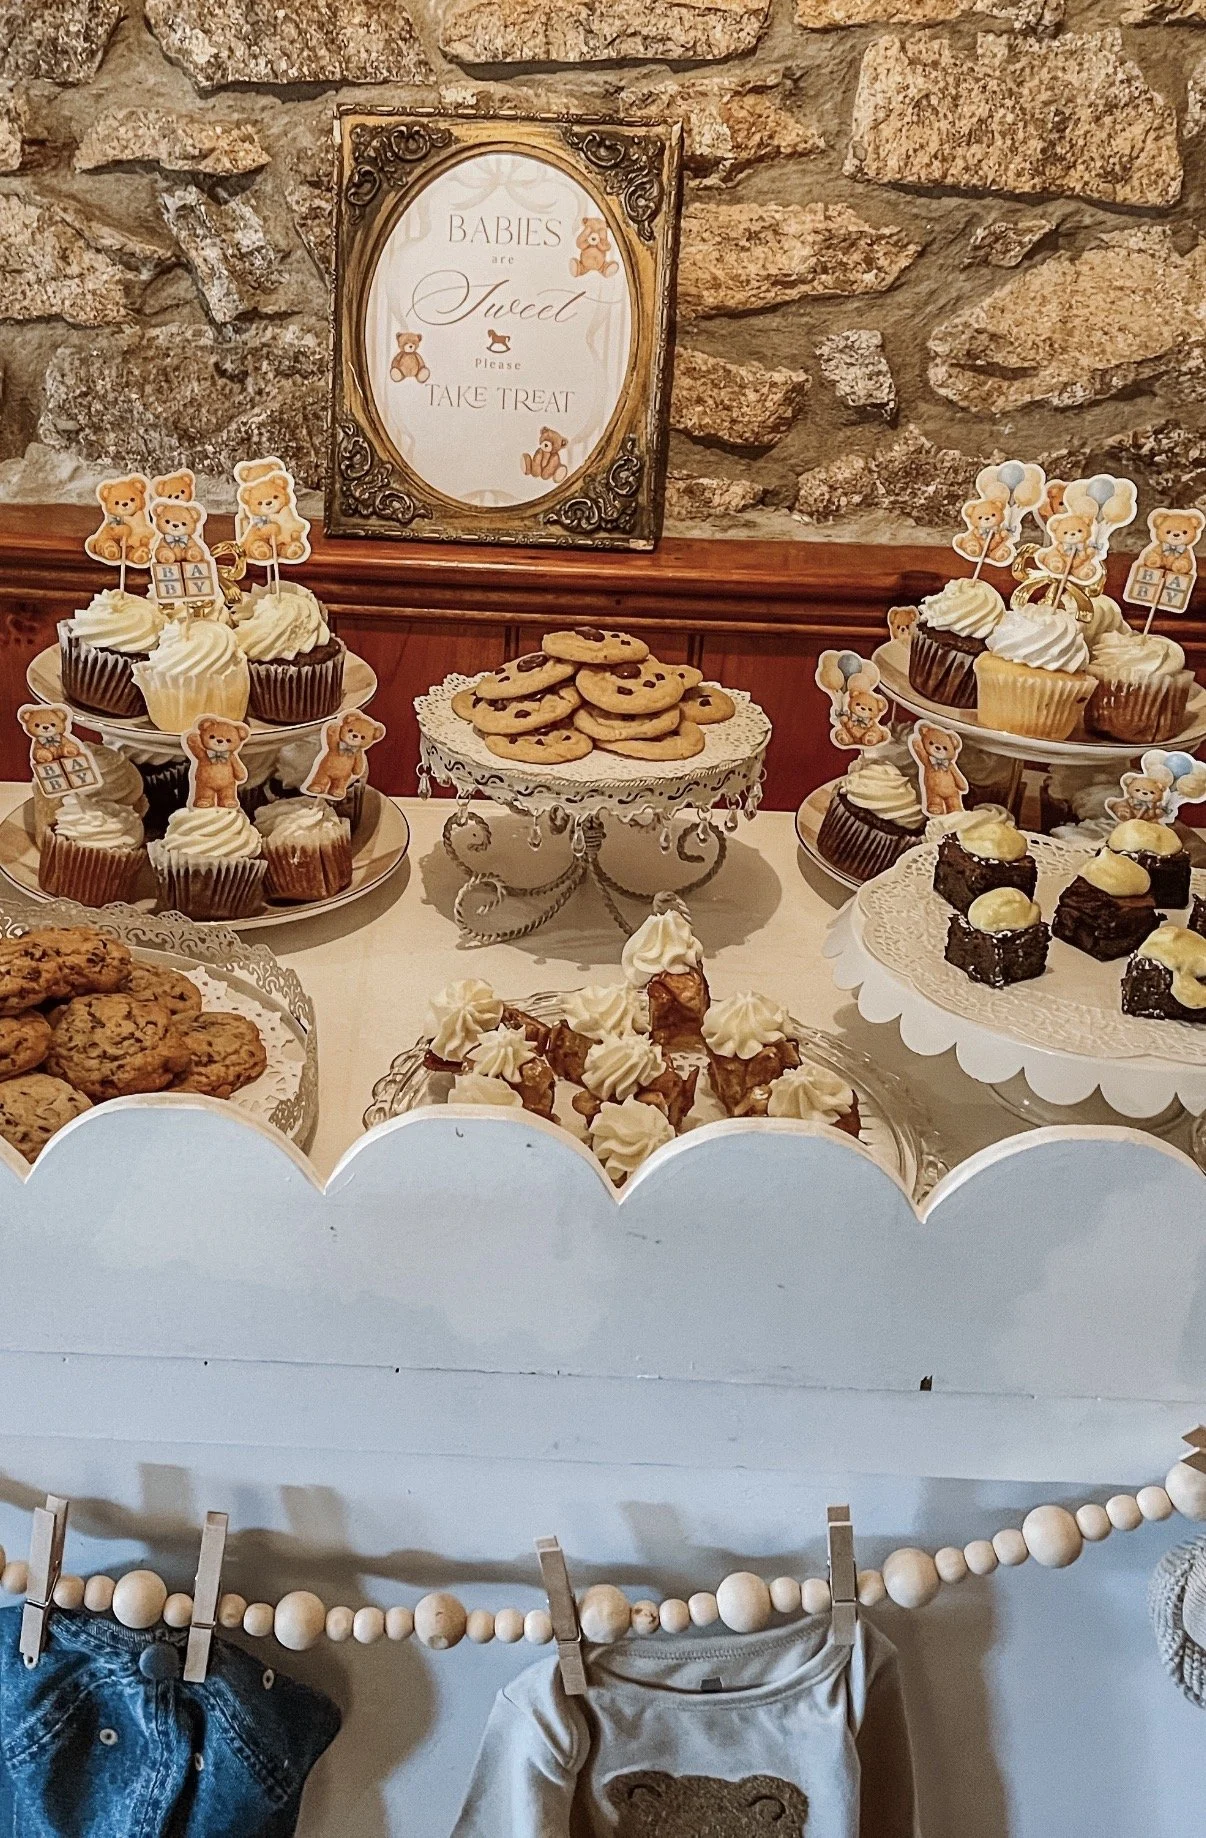
The Finished DIY
I love finding affordable pieces that can be transformed into something special with just a little creativity. These Walmart plates were already beautiful on their own, but adding the gold bow hardware completely transformed them!
If you love the Mackenzie-Childs aesthetic, vintage-inspired decor, and finding ways to recreate high-end looks for less, this is such a fun DIY to try.
You can customize the look with different plates and hardware to match your own home, too!
Happy DIYing!