
DOLLAR TREE: DIY PEEL & STICK WALL PAPER
Disclaimer: This website uses affiliate links, meaning: at no additional cost to you, we earn a small commission if you click-through and make a purchase. As an Amazon Associates we earn from qualifying purchases. We only feature products that we believe in and use ourselves. Your support means the world to us and allows us to host this website. Thank you
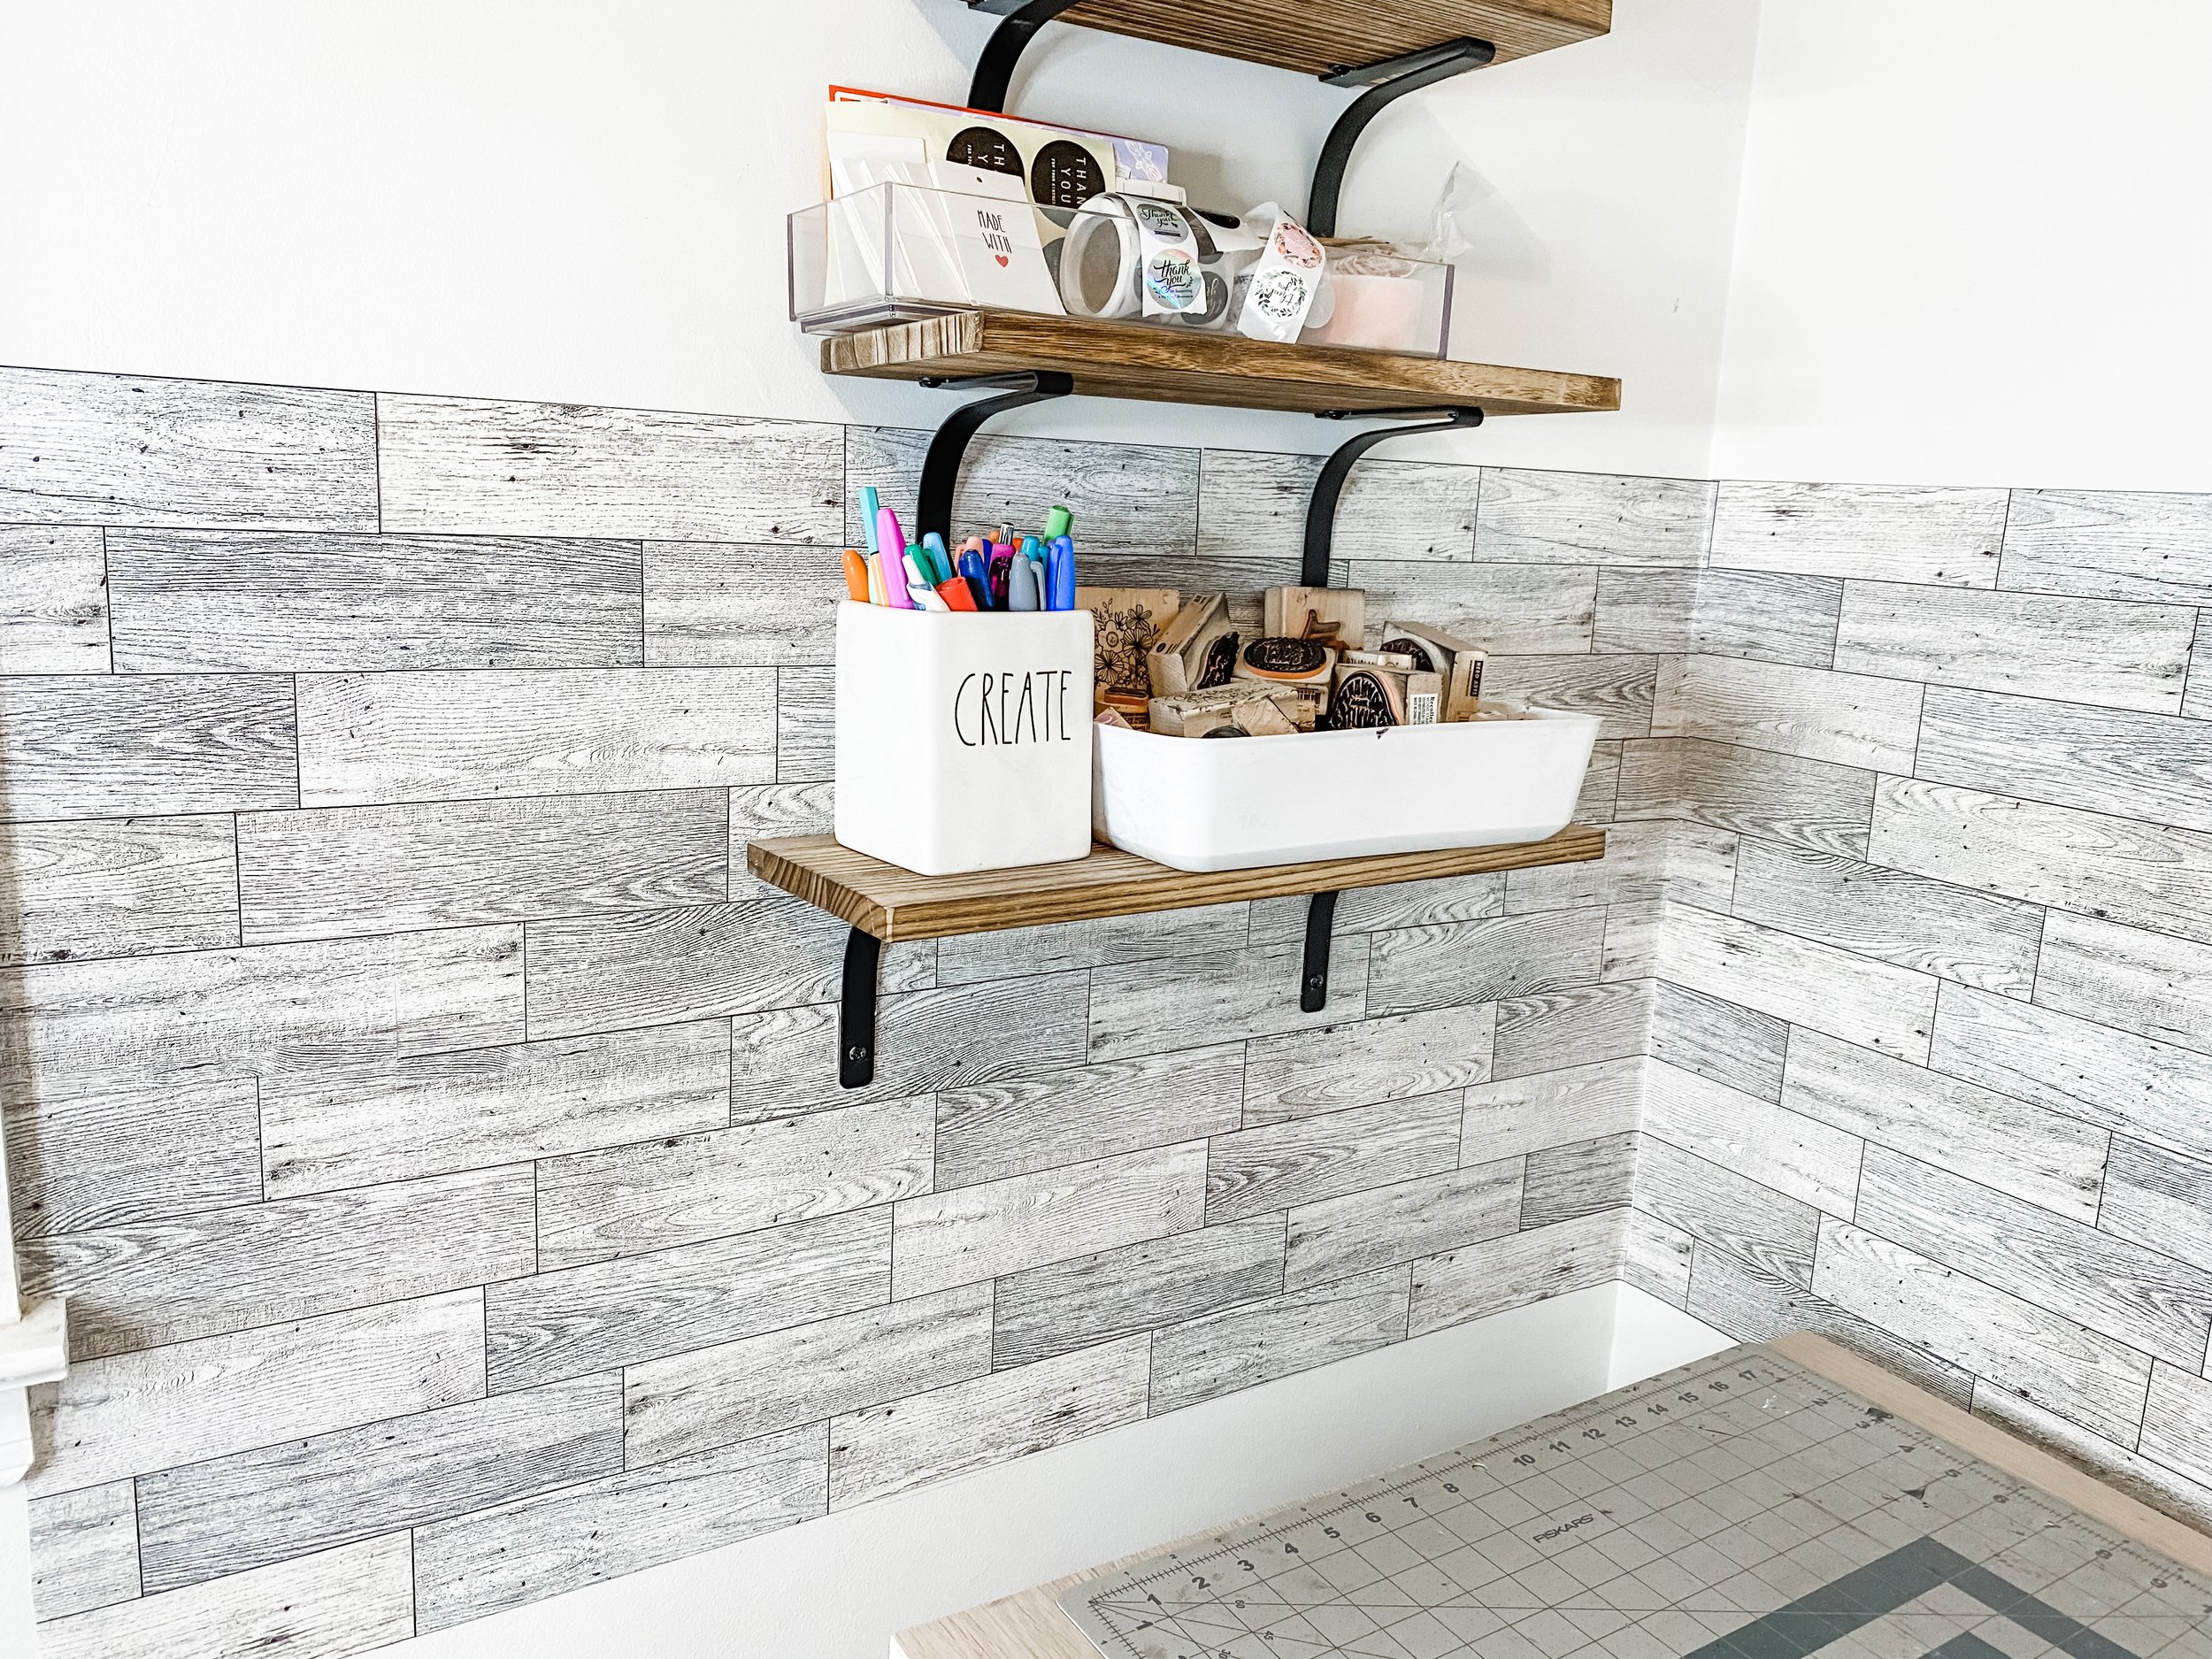
Can you believe this grey faux wood wallpaper is from the Dollar Tree?

Yes, this peel and stick wall paper is from The Dollar Tree!
An adorable and budget friendly option anyone can use! I was lucky enough to stumble across these in the Dollar Tree one day and I’m SO glad I did!

Reclaimed Wood Looking Wallpaper,
measures 16x11-in.
$1.25 Each
Peel and Stick Wallpaper is such a hot trend right now! It is completely removable and replaceable!
Project supplies:
-Peel and Stick Wallpaper
-Tape Measure
-Pencil
-Level
-Paper Cutter or Straight Edge
-Soap and Water

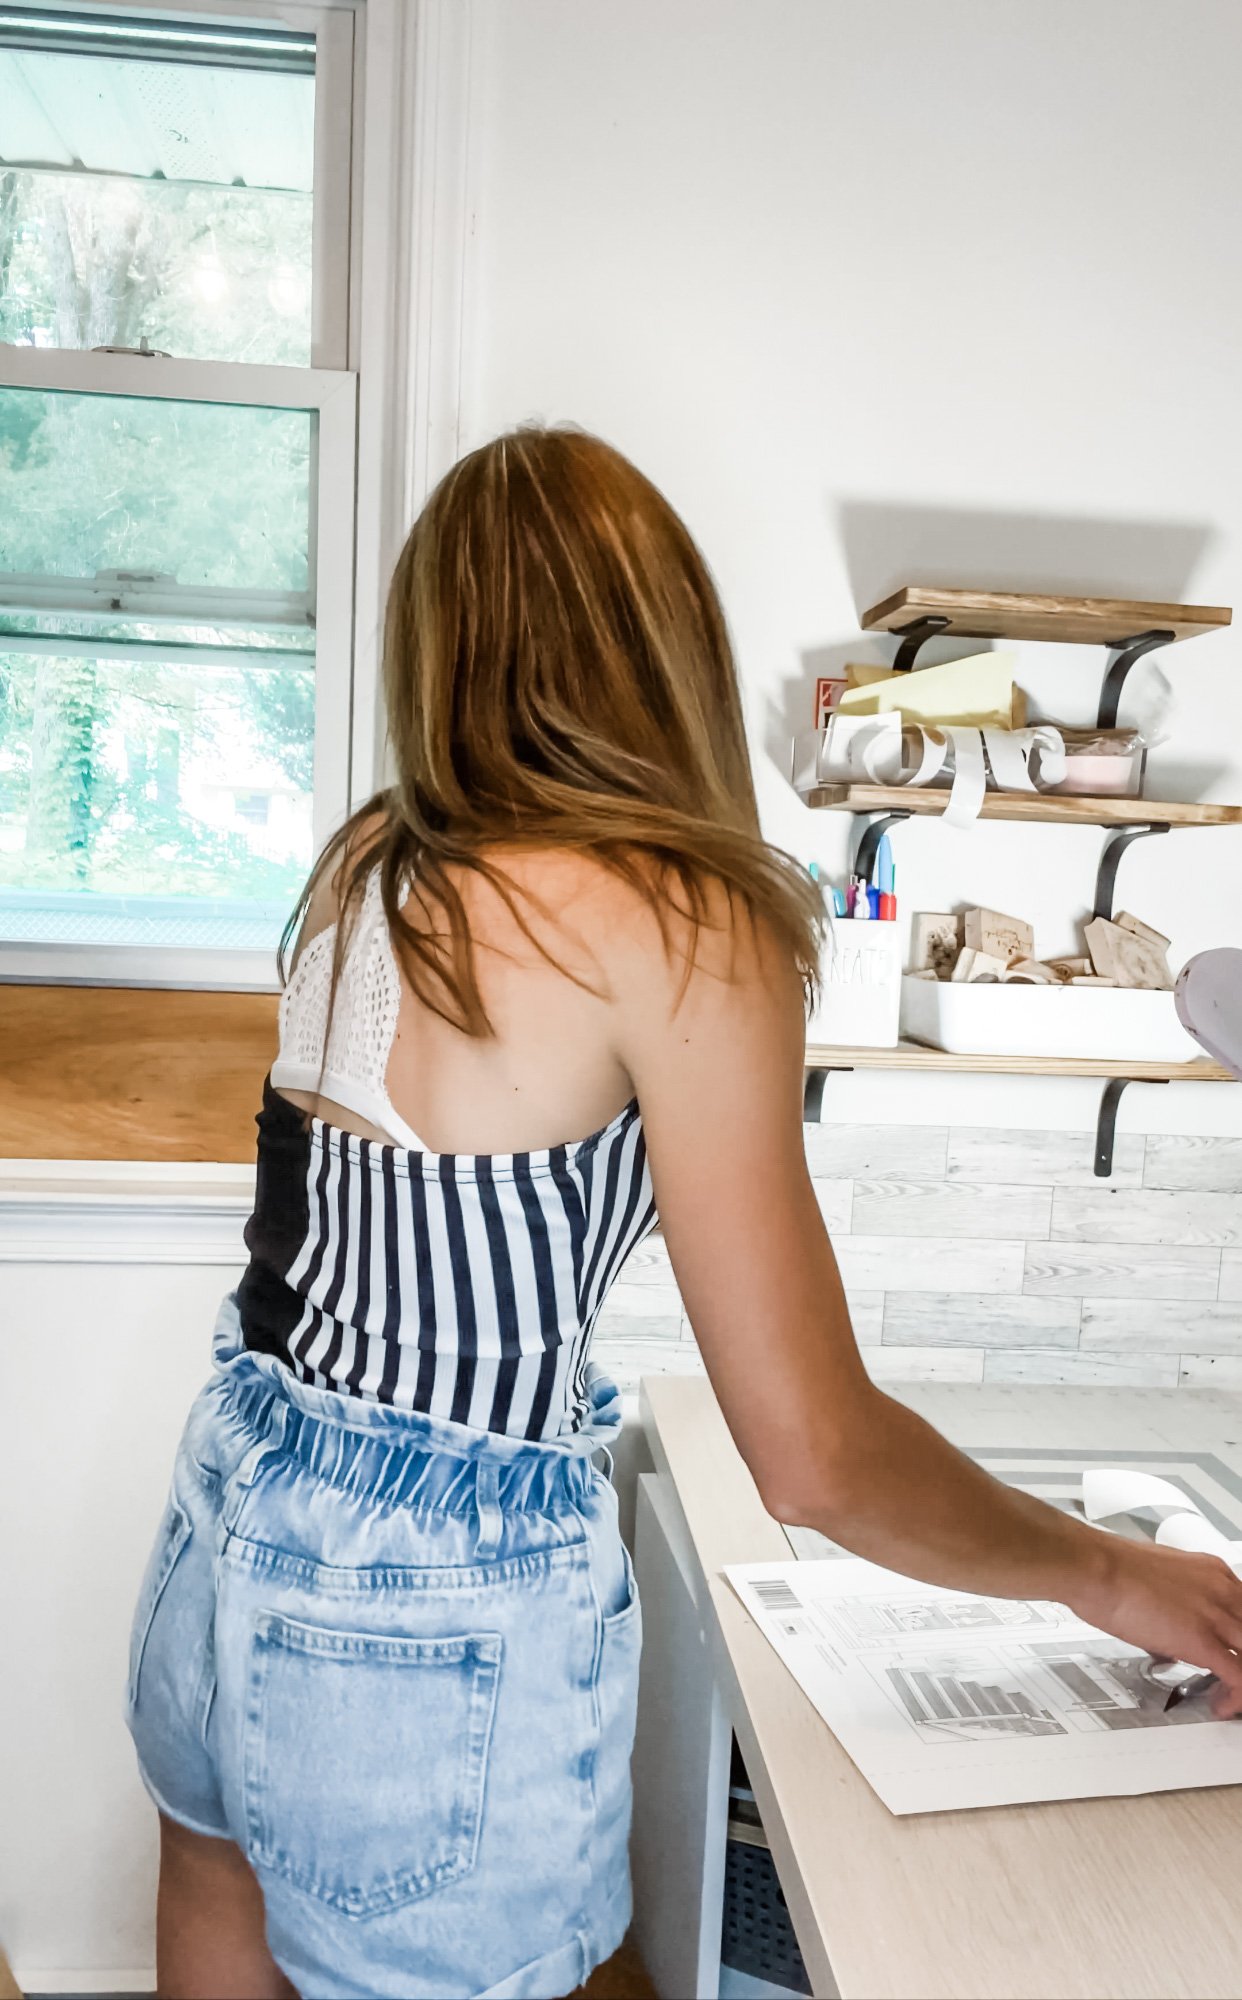
I chose to use the Peel and Stick Wallpaper as an accent piece around my shipping station.
Here is my DIY process!

Begin by cleaning the walls with soap and water. Be sure to let the walls fully dry before proceeding to the next step!
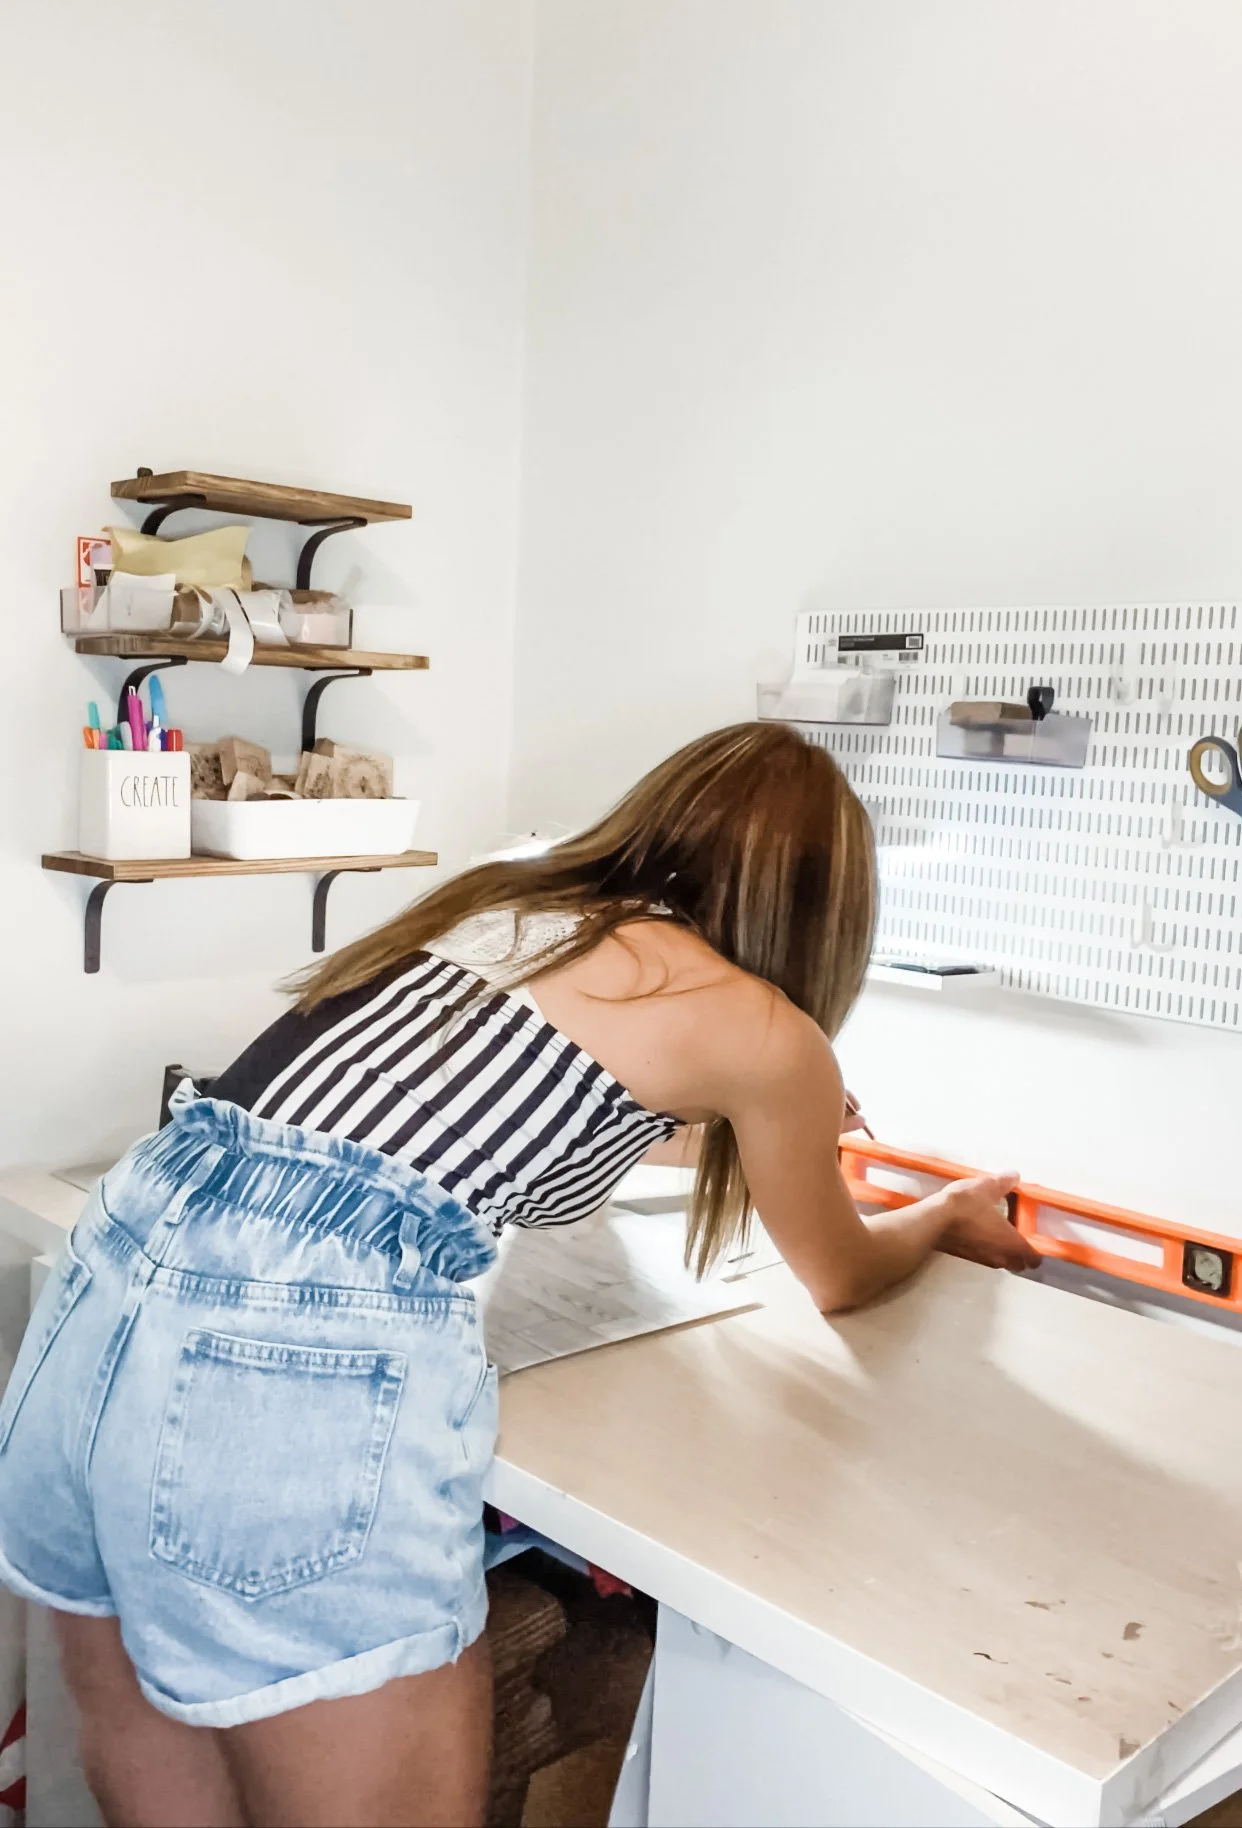
2. Decide where the bottom of your wallpaper will sit (if needed). Using a level, make a line to represent the bottom of the wallpaper around your entire project space.
3. Remove the paper backing, these have two separate pieces of backing to remove.
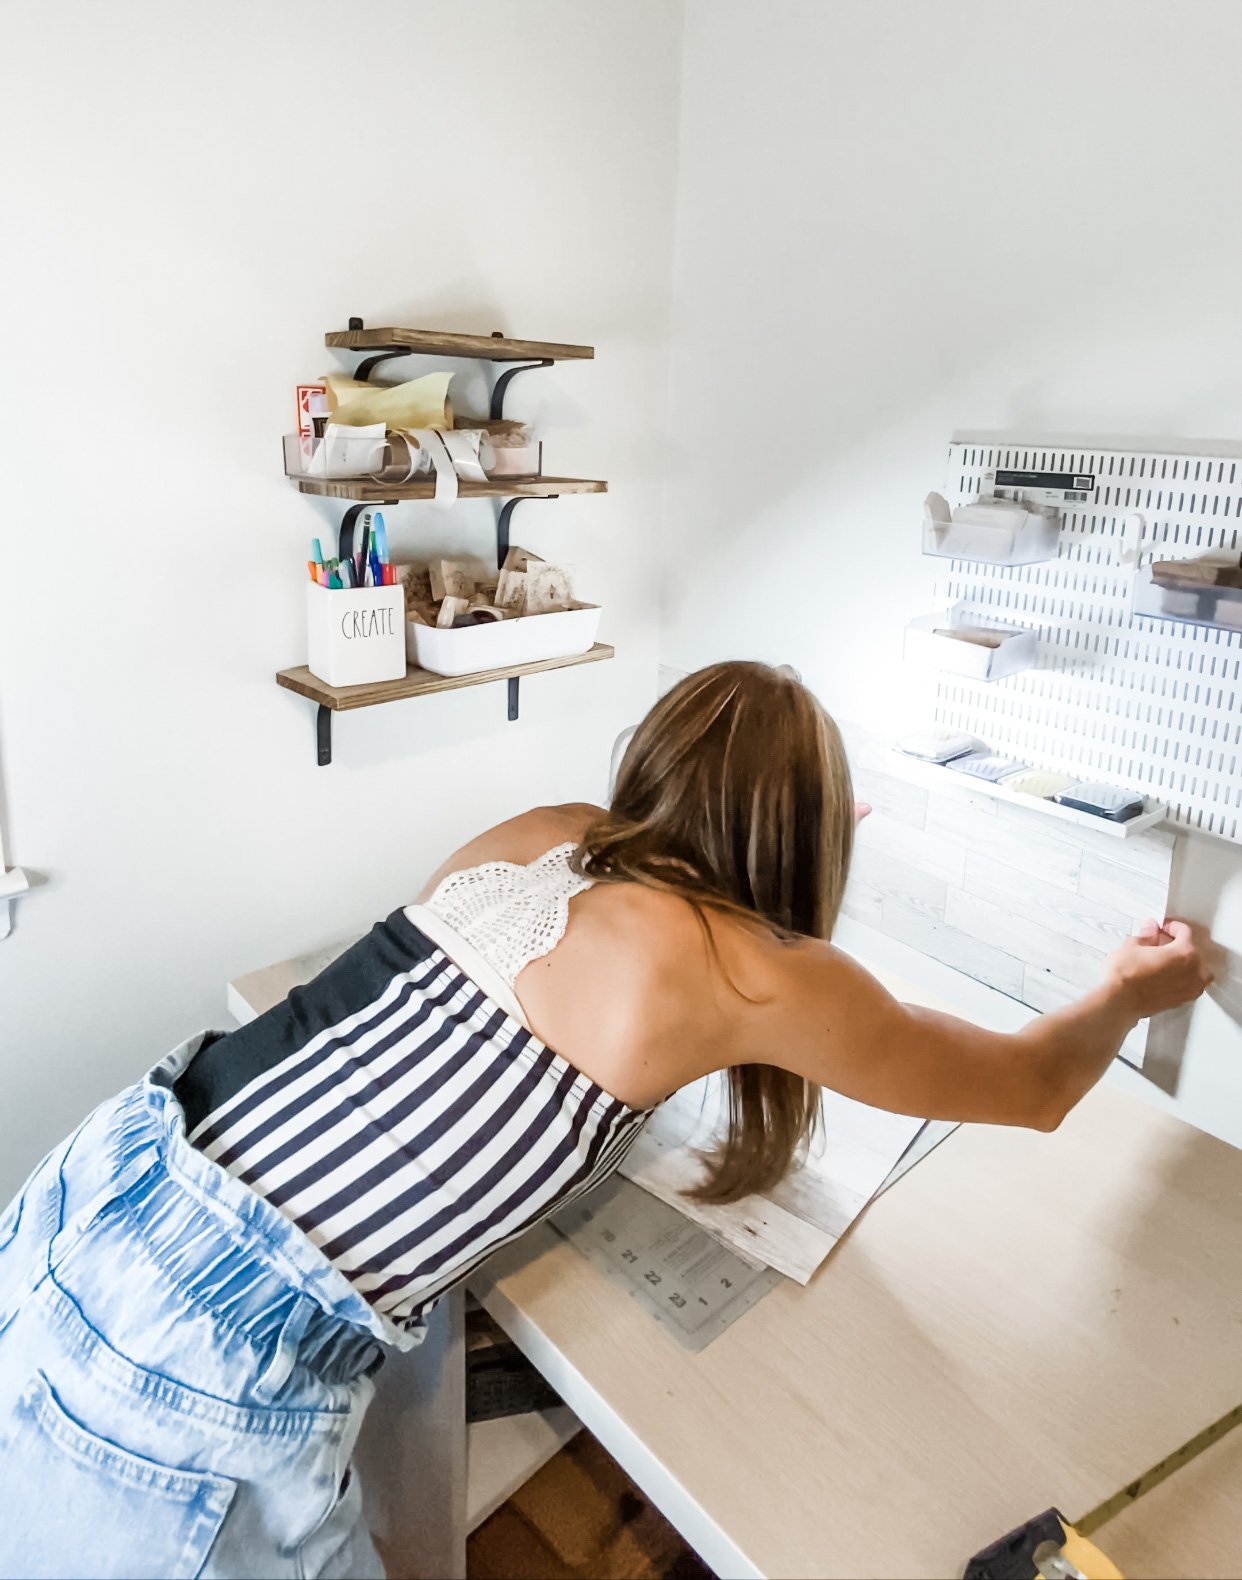
Be sure to use your line as a guide as you stick on the wall paper. Try to place it as straight as you can.
Also, make sure to follow the pattern as you stick the wallpaper on. You want the reclaimed wood to appear as long pieces.

4. When you get to your edge, measure how long of a piece you’ll need with your measuring tape. Be sure to be exact. More is better than less.

5.Using a paper cutter, cut a perfect line at your mark.
Or use your level and a straight edge for a perfect cut.
6. Continue this process around your room. If you come to a hardware/objects in the way you’ll need to either:
- cut around the hardware after adding the paper
-or remove the hardware to put the paper underneath. Then reattach the hardware.
And that’s all to it!
I chose to add two layers around my shipping station corner. I am obsessed with how it came out and am searching for more locations to include the Peel and Stick Wall paper!
Be sure to comment if you tried it and share your experience!
-Written by: Kelly
